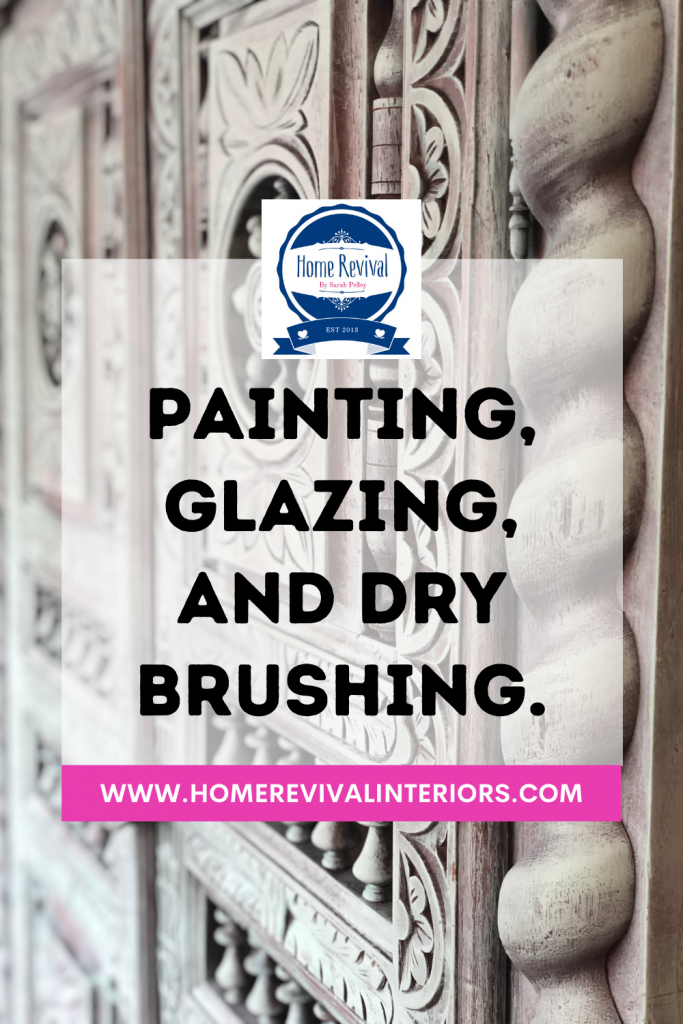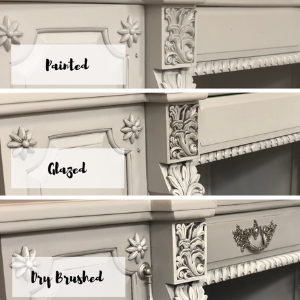
Paint, Glaze, & Dry Brushing Technique
You need this Paint, Glaze, & Dry Brushing Technique in your arsenal! Creating different paint effects can be easy, and one of the simplest techniques I know, to enhance beautiful effects to features such as carvings, and intricate details on your furniture is my paint glaze and dry brush technique. I love to glaze!
Supply list – You will need the following
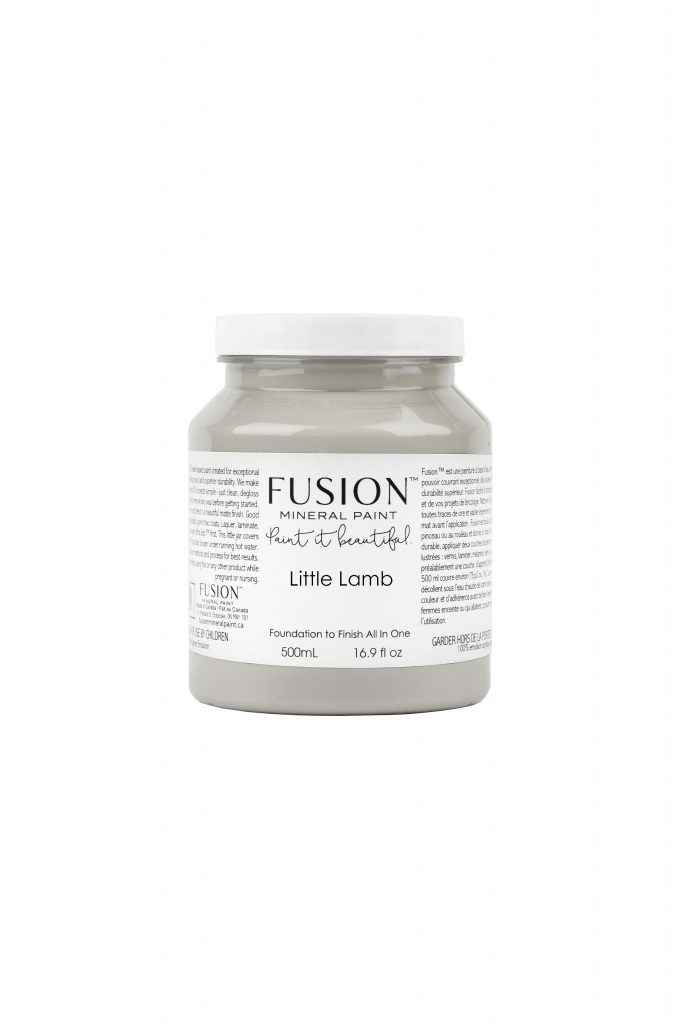
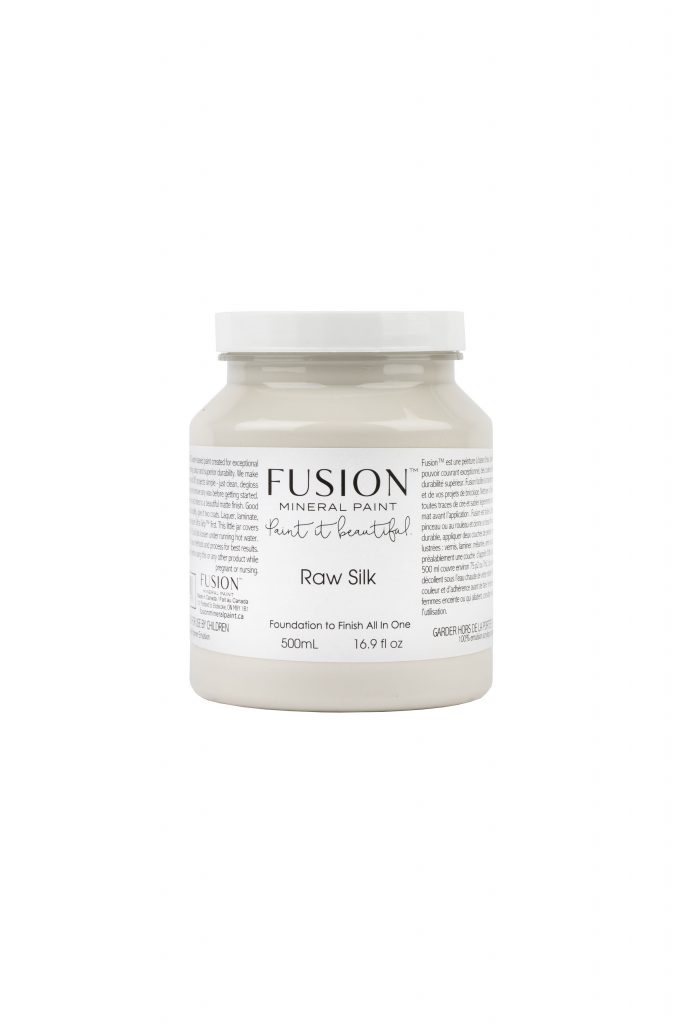
- A mid-tone Fusion Mineral paint colour of your choice.
- A dark coloured glaze. Such as the antiquing glaze or the clear glaze with a dark colour to tint it with.
- A light tonal colour of Fusion Mineral paint which compliments your mid tone colour. – This will be for the dry brushing effect.
- A brush to paint with.
- An old brush for glazing.
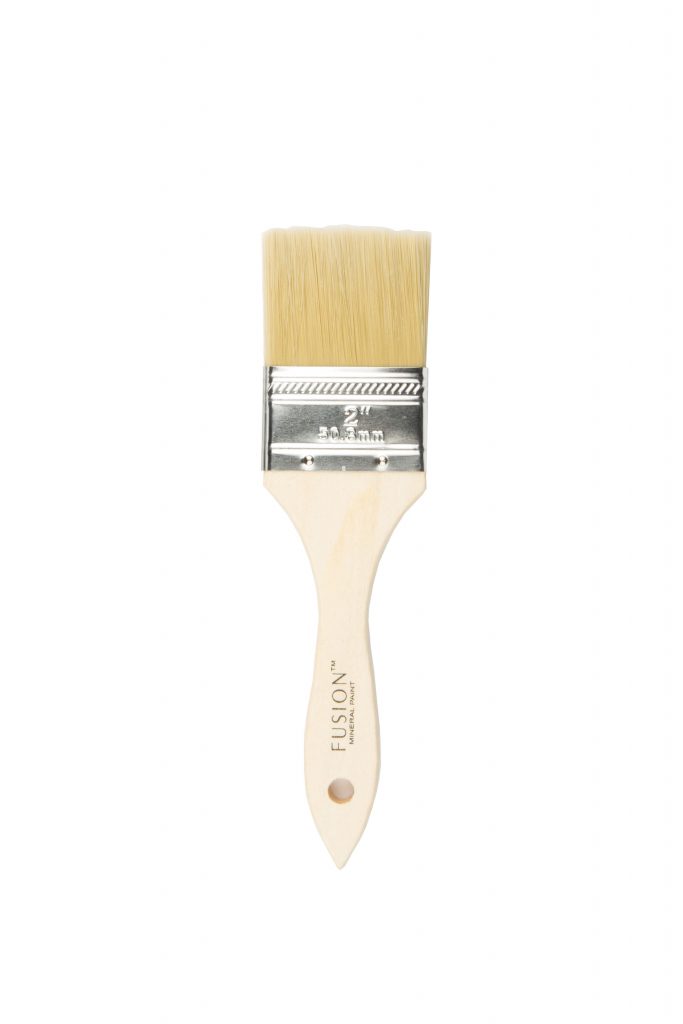
- A large flat brush for dry brushing.

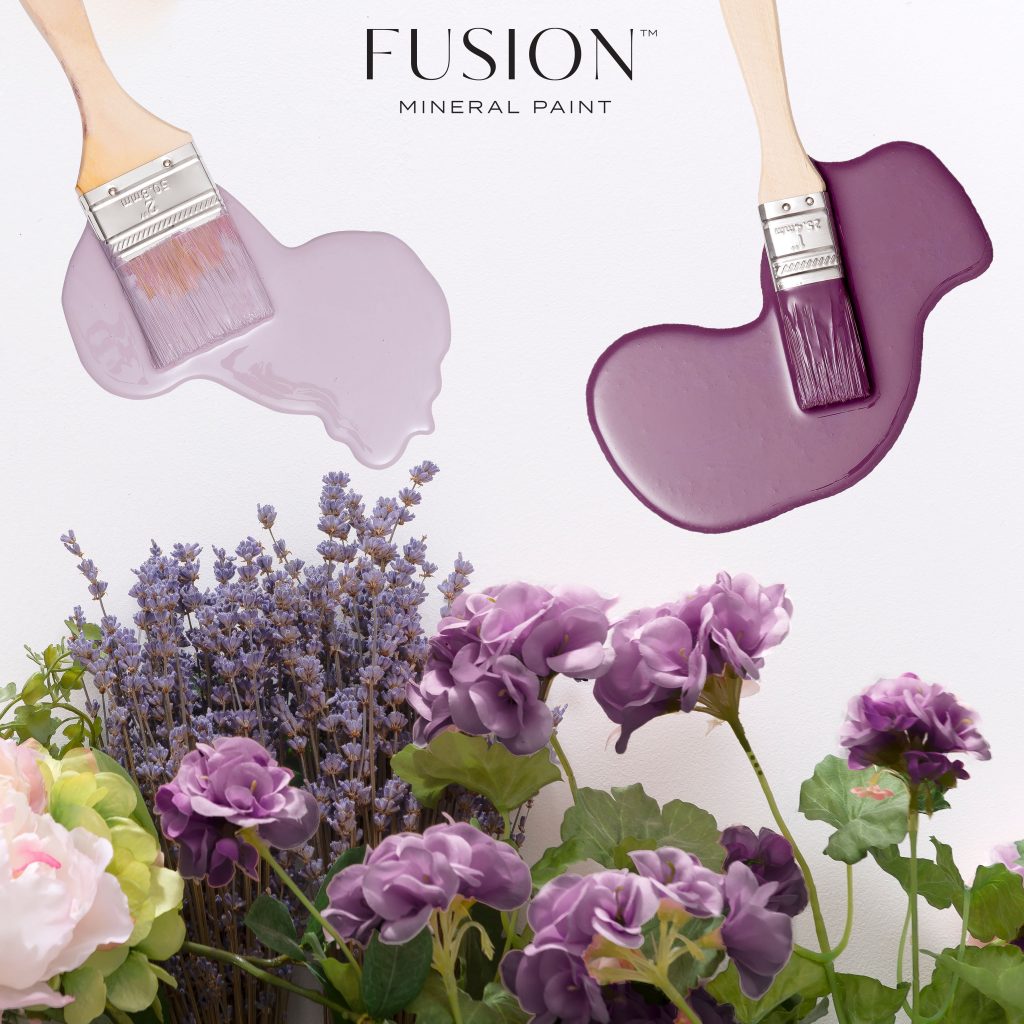
For example you could Devine lavender and twilight geranium.
Enhancing the details on your furniture
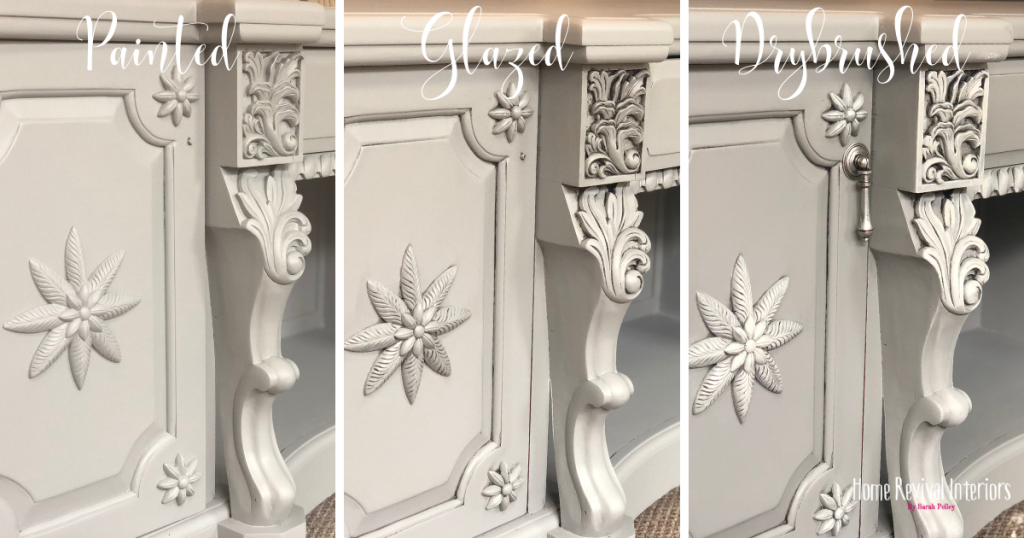
Starting with your chosen mid-tone colour. Give your piece of furniture two good coats of paint. Make sure to follow all the prep steps for the paint, and allow the given drying times. If you’re not sure about how to prep your furniture for painting checks out this blog post here. After your paint has thoroughly dried. I would leave the paint to dry for at least overnight. This is really important because we need the paint to be as dry as it can be. You will be applying a wet glaze over the top, and wiping it back. So we need the paint to be really good and dry.
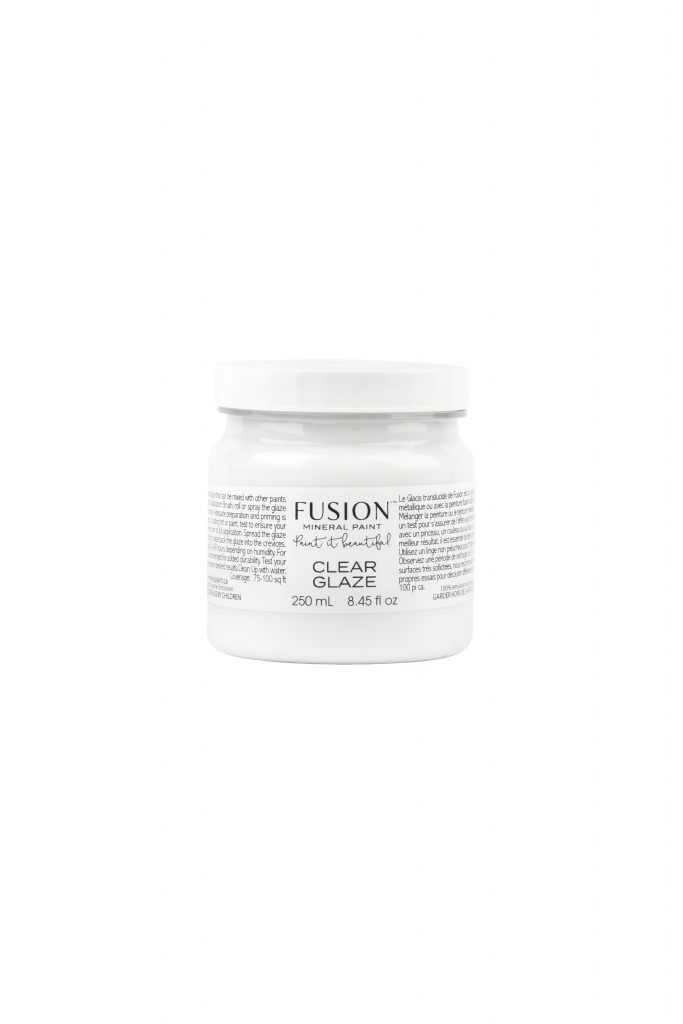
We are now ready to apply the glaze. You can choose to use the antiquing glaze, or Fusions clear glaze can be coloured/tinted using a darker colour. I often use the Fusion Mineral paint clear glaze with Fusion’s coal back colour paint as a dark glaze, it is my go-to.
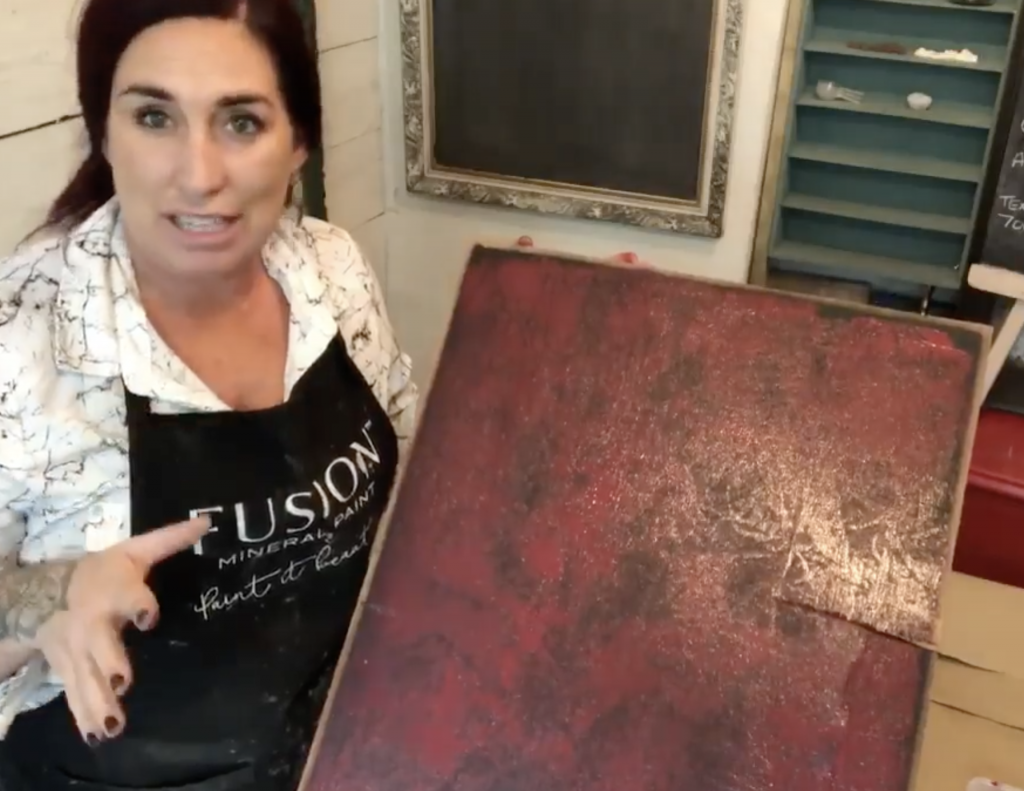
Tinting your Fusion glaze
Tinting fusion’s clear glaze can be real fun. You can choose any colour you like, including Fusion’s metallic colours to make your tinted glaze. In this video I used Cranberry to create faux leather using a technique called frottage.
Top tip:
The rule of thumb for tinting your glaze is the more paint you add the more opaque the glaze will be. The less paint you add the more transparent your glaze will be. So think about it like a pair of tights you may put on. The higher the denier of the tight , the less of your leg you can see, its the same thing with your glaze.
Paint, Glaze, & Dry Brushing Technique
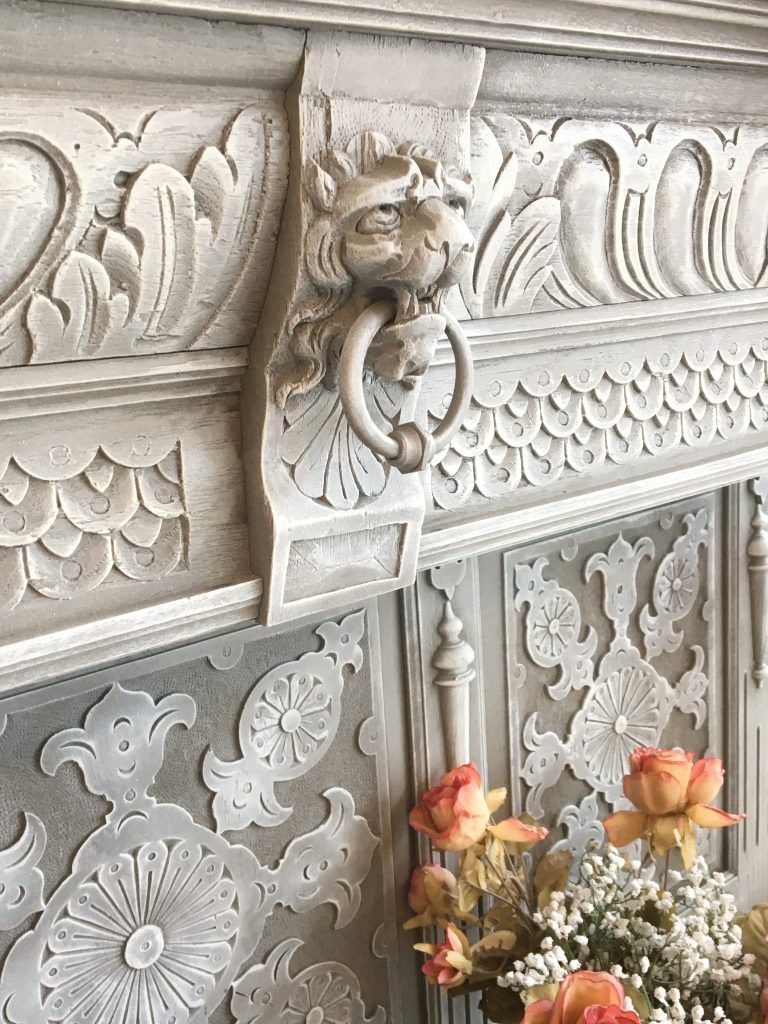
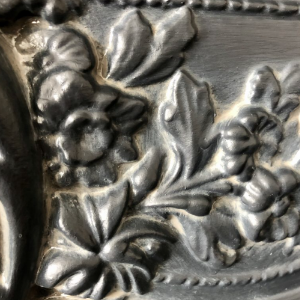
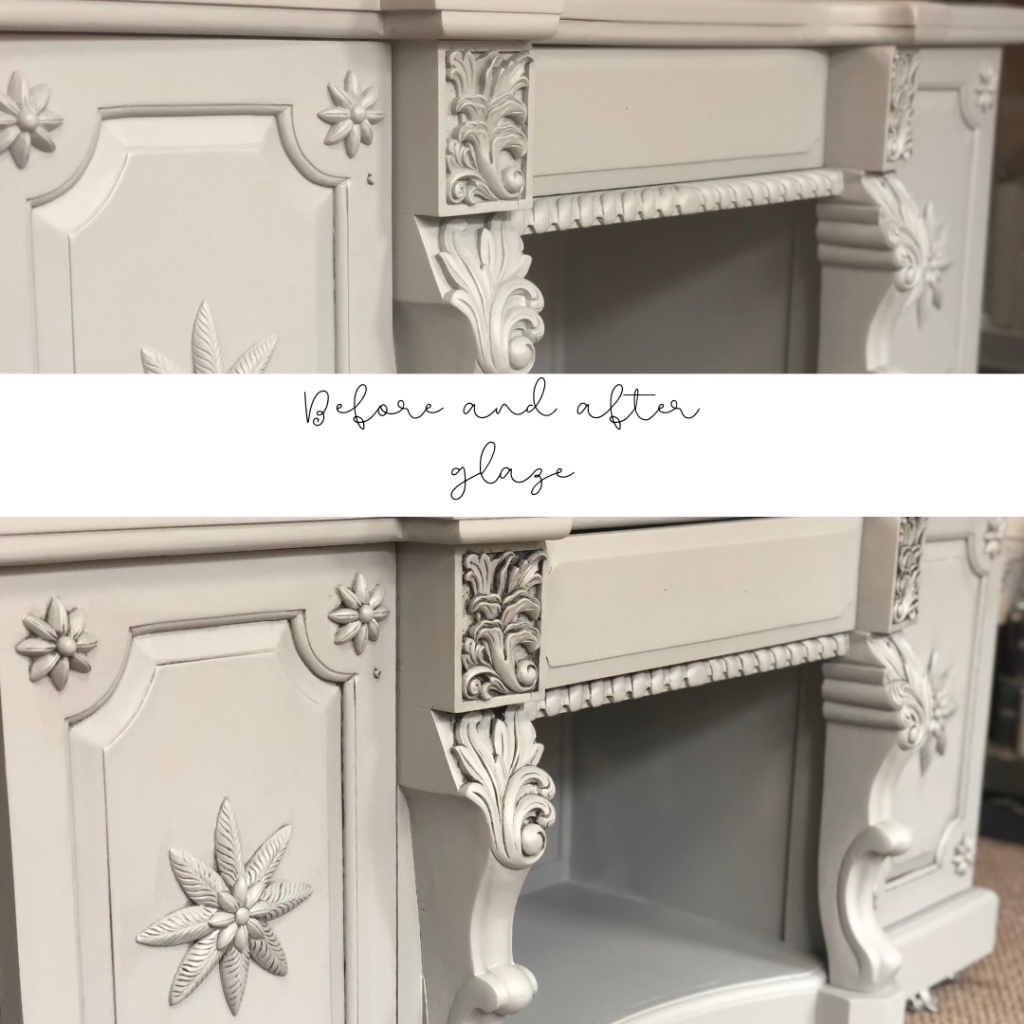
You apply the glaze in sections making sure you get the glaze into all of the details and features on the furniture. I always leave my glaze for 5-10 minutes to make sure it’s got enough time to seize up and grab hold of the paint. I then use a lightly damp cloth to remove the excess glaze. You can use a dry cloth but I like the control havening a damp cloth gives me it allows me to remove almost all the glaze on the flat areas leaving it in the recessed areas perfectly. I want the contrast between the two colours to be strong.
The fusion glaze is very forgiving and it has a long open time. This just means that it stays wet much longer than the paint does. So you have got the time to stand back and look at the piece, assess it, and decide whether you have removed enough of the glaze or not. After the glaze has dried which will take around 48 – 72 hours.
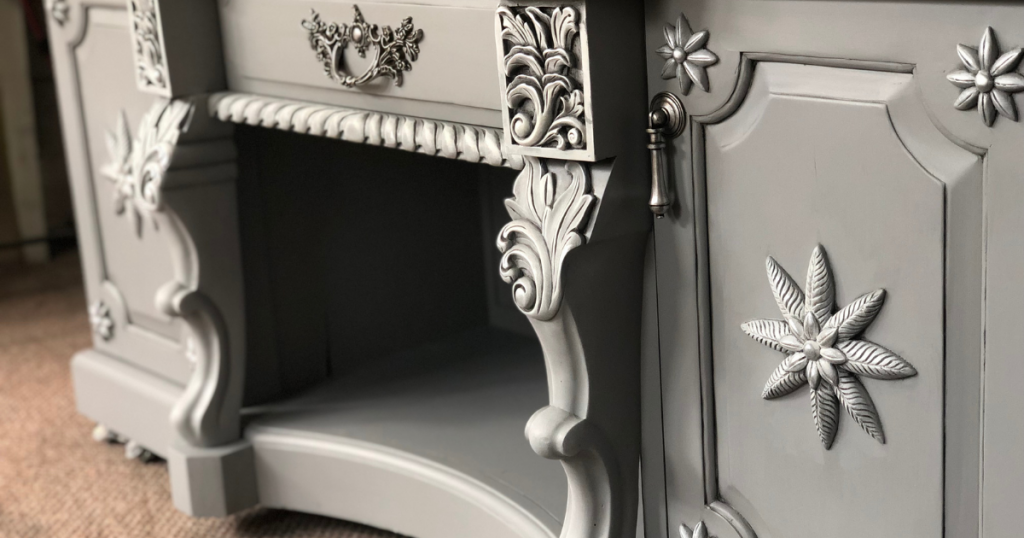
Dry brushing for a 3d effect
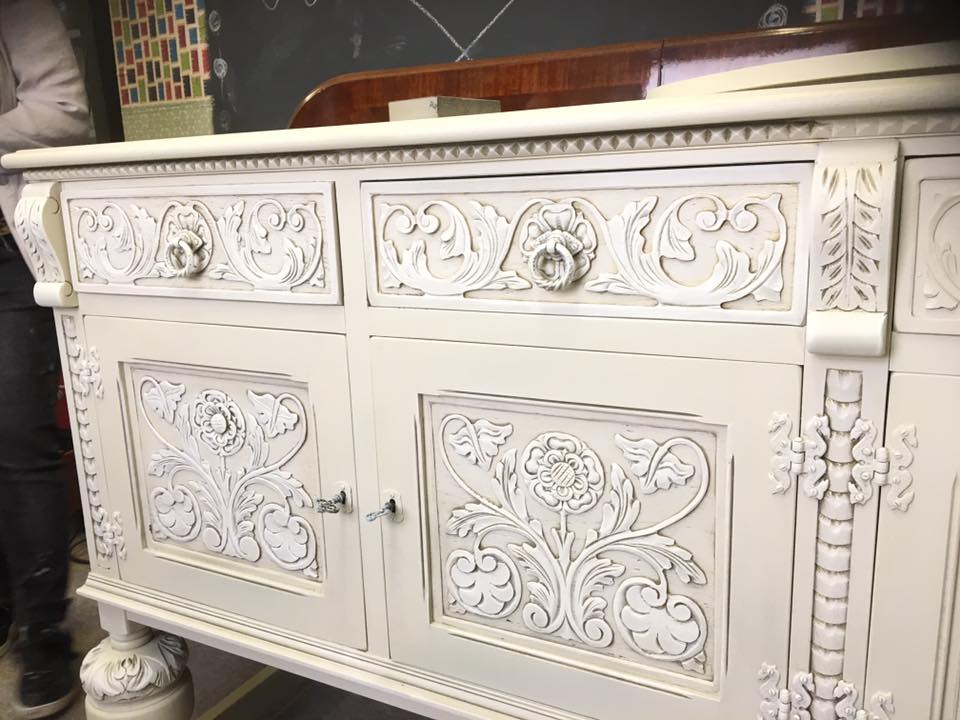
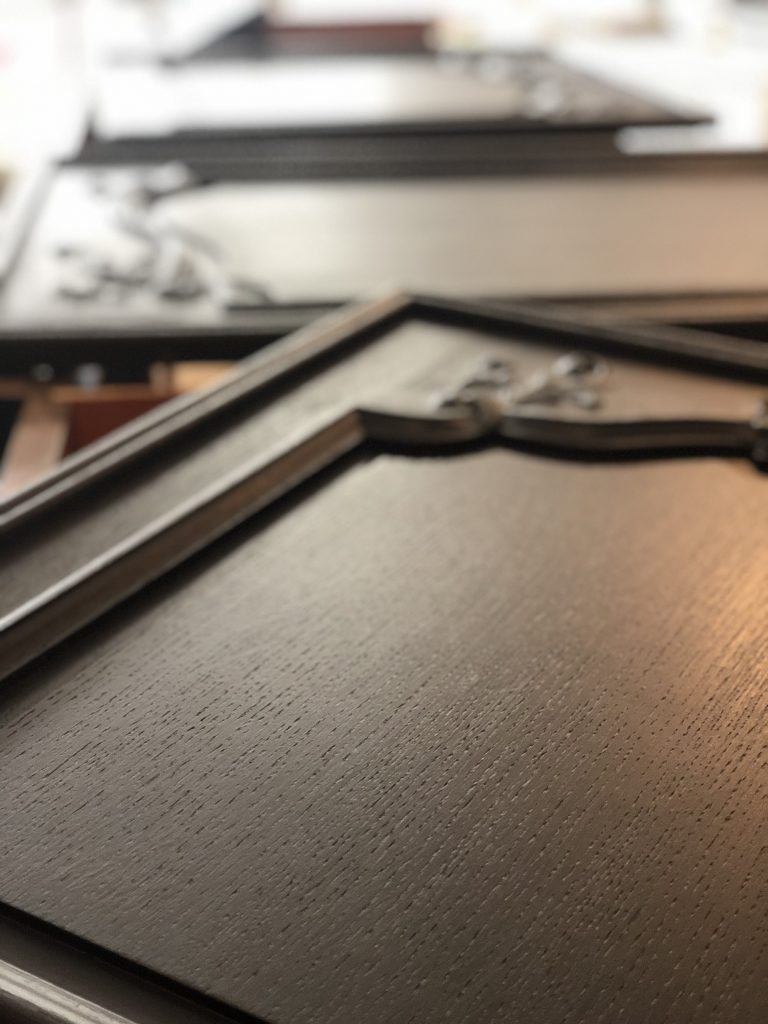
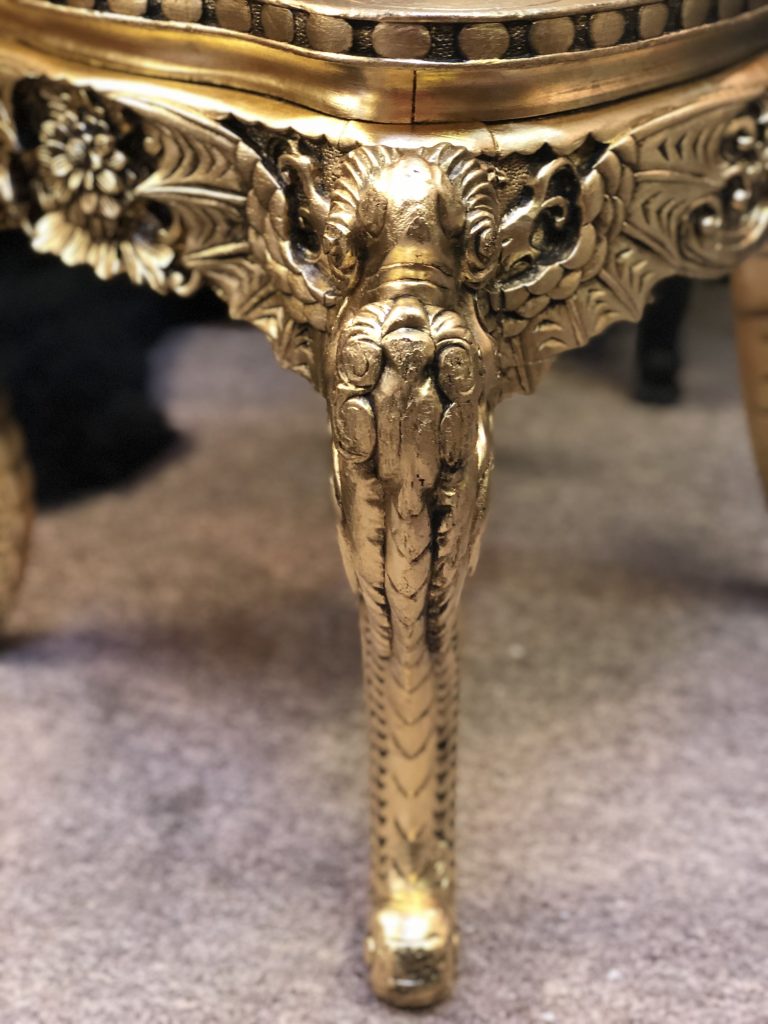
When your furniture has carvings or intricate details and you paint it in one colour it can appear to make the details look flat and take away from the feature. By adding the glaze your re-applying in some dark and mimicking age and dirt, which helps to bring back that depth and 3D effect.
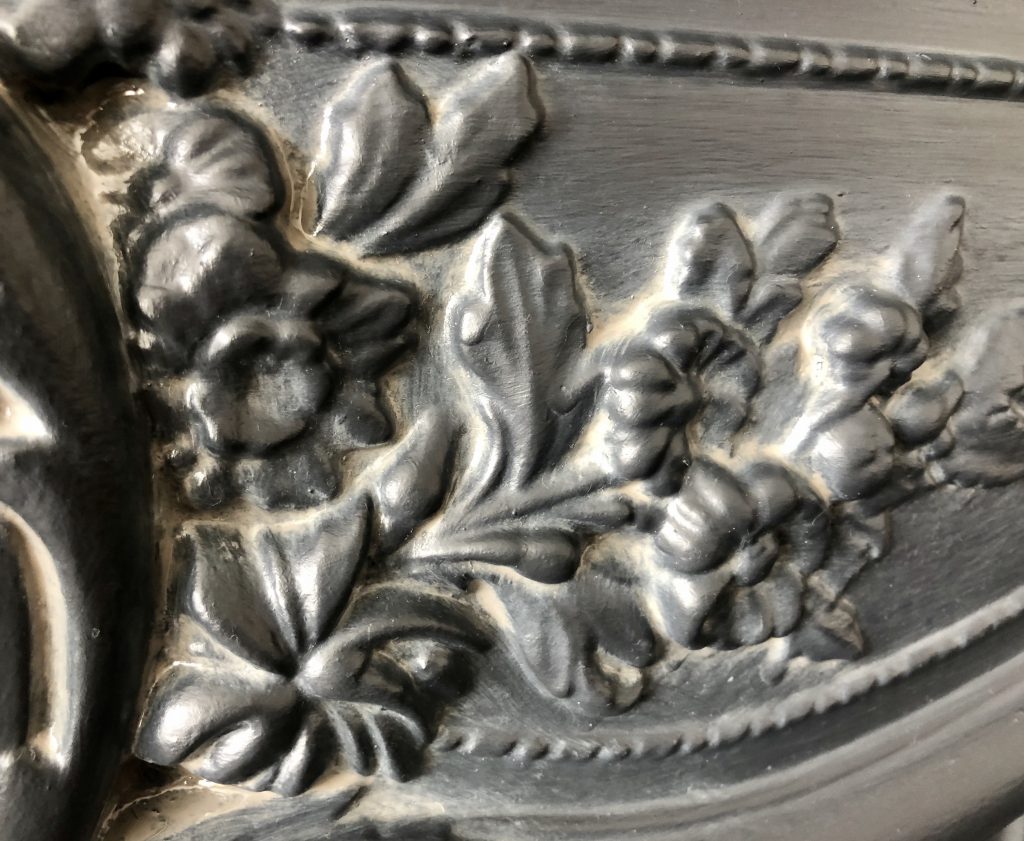
By dry brushing with a lighter colour then adds to the effect bringing back the highlights. You can think of it as contouring with your make-up. Adding a highlighter to your cheeks just makes them pop! This helps to enhance your features. That’s what we’re doing to your furniture with this technique, just highlighting its cheekbones.
We do this by dipping a large flat brush very lightly into some paint. You need very little paint, as we’re going to wipe it all off. I use some scrap cardboard as a pallet to dap off the excess paint on my brush, till there is barely any paint coming from the brush. Then we’re going to brush vigorously but lightly over the tops of the carvings and it will just catch on all of the high points. This is what you’re looking for to bring out those highlights. When it’s all done it really does give it a 3D effect.