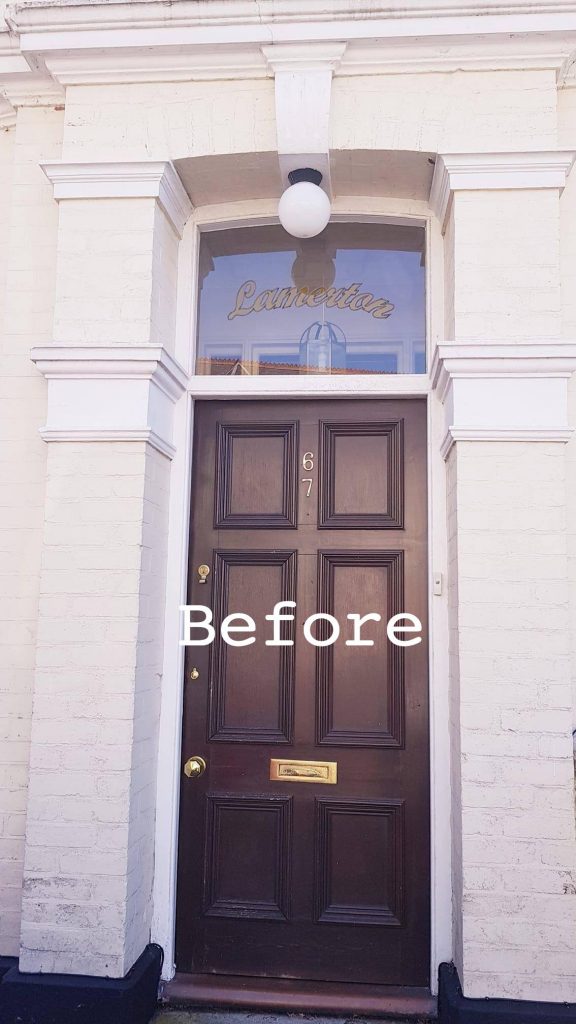
Paint your front door with Fusion Mineral Paint™
Have you got a front door that’s looking a little worn? Spruce it up with a pot of Fusion Mineral Paint. It’s simple, easy, and an inexpensive way to get a brand new look. The best part is you do not need to add a topcoat! Follow along to see how easy it is to paint your front door.

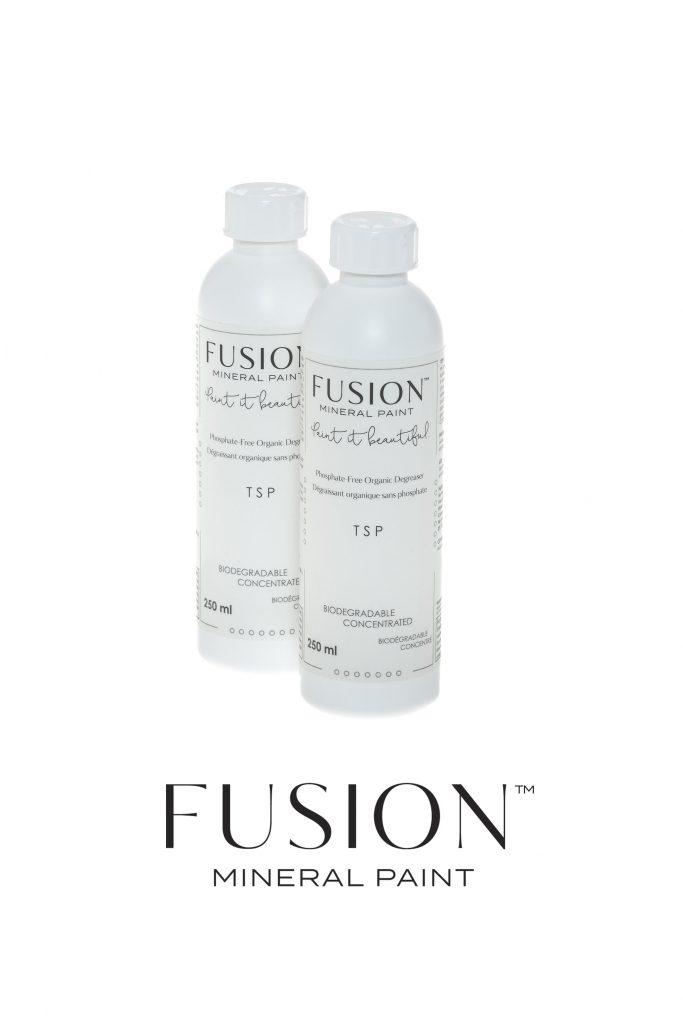
- Fusion Mineral paint TSP alternative
- Rag’s to clean
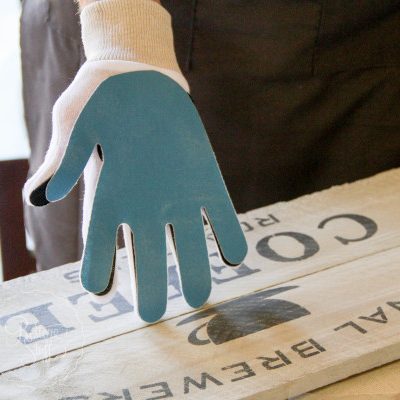
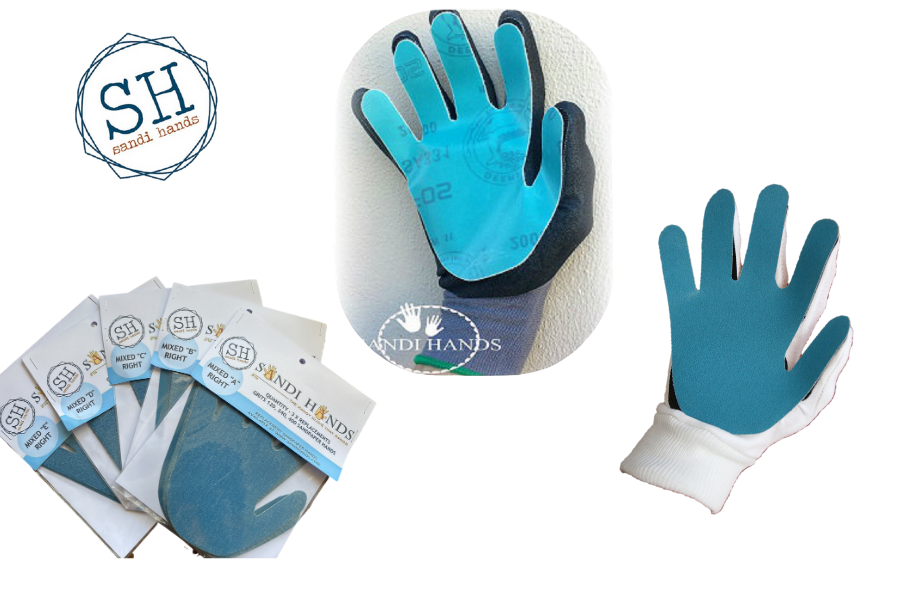
- 220 sandpaper we used Sandi Hands sanding Glove
- A good quality synthetic brush – Staalmeester brushes is our recommendation.
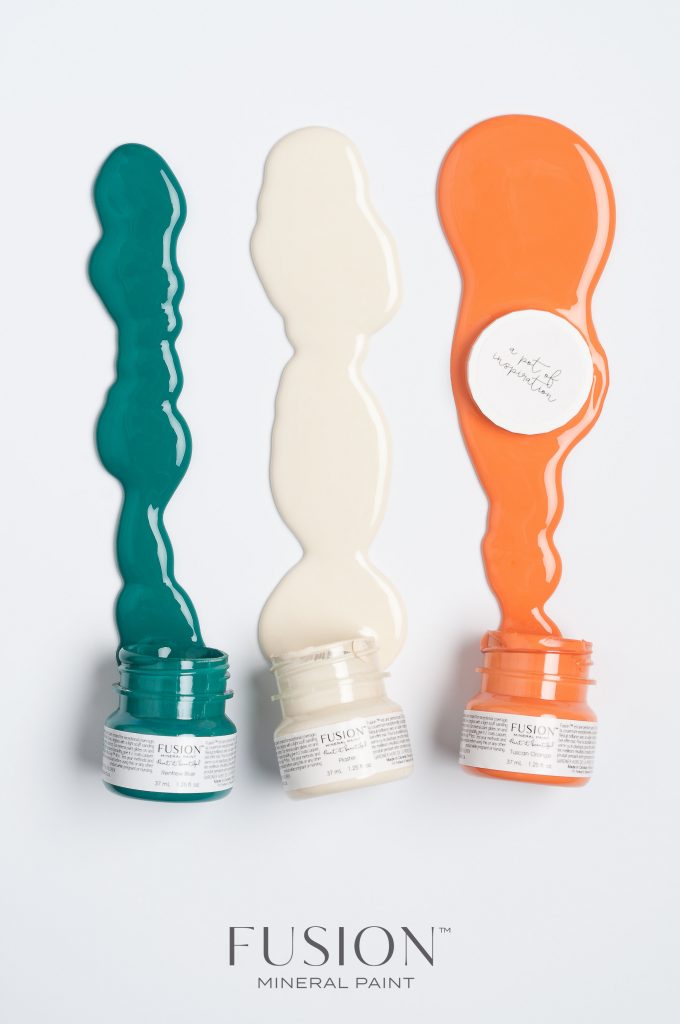
- A pot of your favourite Fusion Mineral Paint we used Sacred Sage
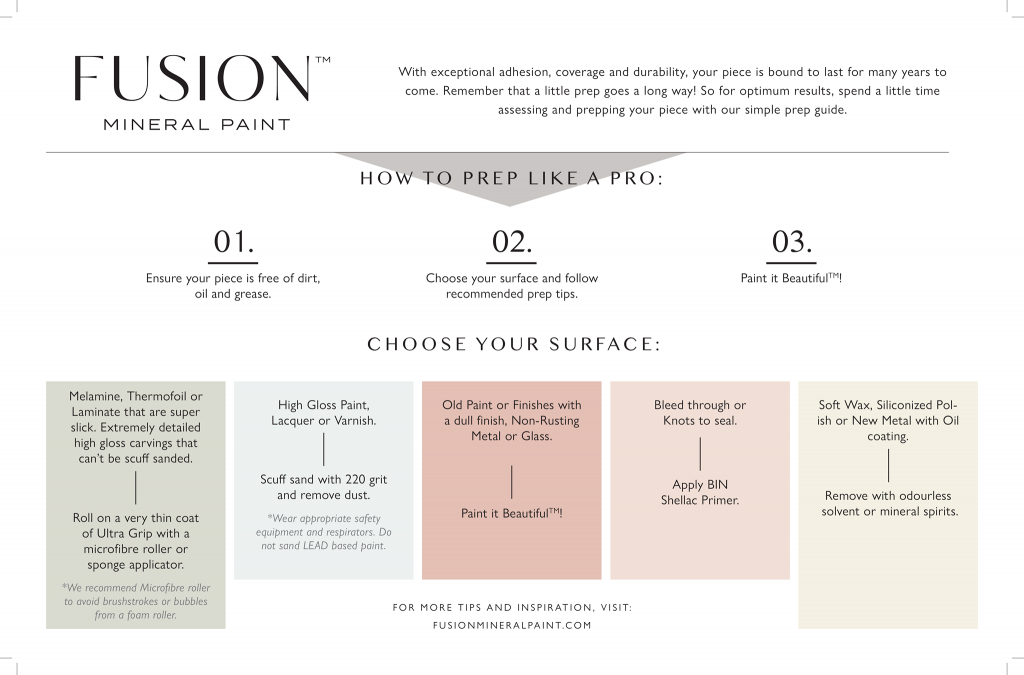
Prepping your door for painting
Prepping your door for painting is simple. Here are the steps I’d recommend.
Take off all the hardware from the door. This can be handles letterboxes ect.
Mix up a small bucket with water with Fusions TSP alternative, and scrub that front door. A kitchen greeny would work well for this. There’s lots of grime and dirt from things like roads, and daily life, so this step is crucial for prepping your door.
How to scuff sand funriture
After cleaning well with TSP leave the door to dry thoroughly. Once dry you can scuff sand the entire door. Making sure to sand in the direction of the wood grain. This is important so you don’t see the sanding marks, going against the grain even with paint over top can be seen through the finish.
Scuff sanding is just giving the surface a ‘key’ or ‘tooth’ this is only needed on surfaces that have paint or finish already on them, especially if the surface is shiny. We are trying to matt the surface not remove the finish.
After removing all of the dust from sanding you are ready to apply your first coat of paint. See this blog post about prepping your furniture ready for paint.
Less Paint is more.
When applying paint especially to a front door, less is definitely more. You want to apply the paint in thin even coats. I’ll pre-warn you, the first coat will look scary, just trust the process, and just know that once you apply the second coat it will begin to look amazing.
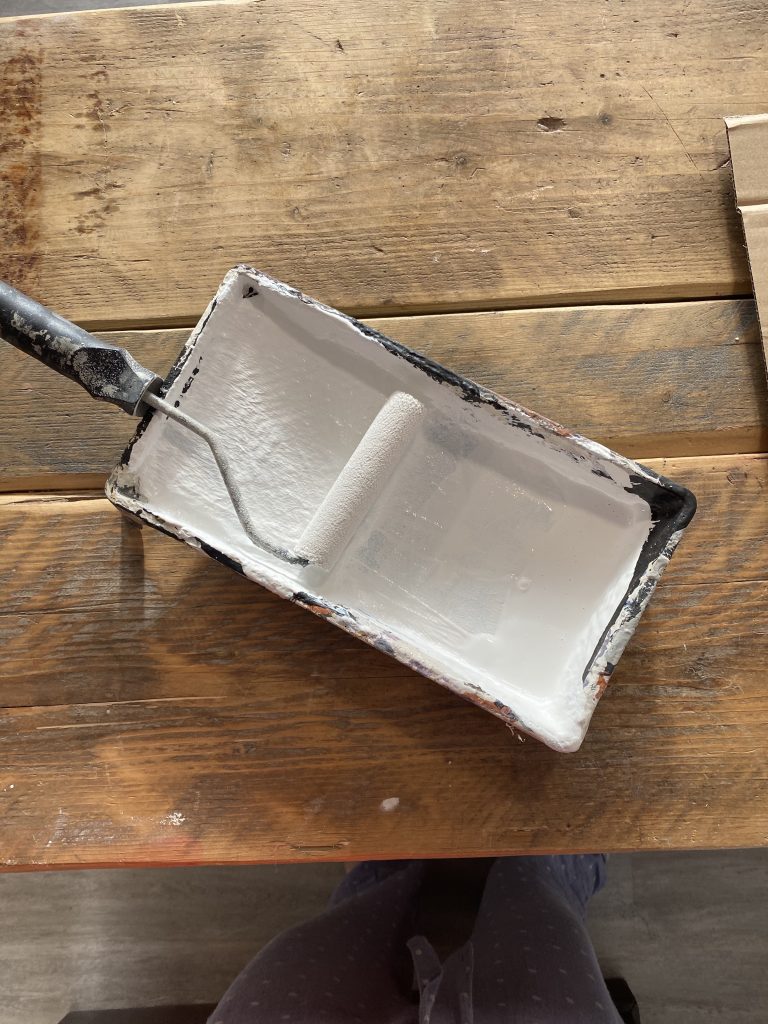

A brush or a roller or both is good for this project. You can roller the larger flat areas and use a brush for the crevices and detail work. I just used a brush for this door, just do what is best for you!

When allowing the first coat of paint to dry, remember to leave the door propped open. Sunny dry weather conditions are always better for this. I would also recommend starting this project in the morning. After the first coat dries apply the second coat of paint. Again make sure the door is propped open for drying. As it’s an outside door there will be seals and flush fittings that can mark your new paint.
Once the second coat is dry you can reattach all of the hardware you removed when prepping the door. Your now ready to style it up and take a picture!
Video showing you how to paint a front door.
I painted this front door Live on my Facebook page. You can see how quickly the job is to do and so is easily manageable in a day. The prep was done before we went live and my customer had a a new look door for under £22! How great is that?
Let me know in the comments if it has inspired you to paint your front door, and if you don’t already please pop over to my Instagram account and give me a follow! It really helps small businesses such as mine.