Gold leaf a before and after.
Gold leaf a before and after.
It’s funny how trends come back around, isn’t it? Metallics are bang on trend again with Copper and Rose gold taking the lead. It has been used in many ways in Interiors but opulence, glamour, and warmth have always been synonymous with the shiny stuff!
My client had bought a Rococo style console and mirror, an import from China. A great design and size but bare wood, just waiting for its makeover. The client had a vision of something bold and we tested out a few finishes but she chose a Gold Leaf and Black Glaze.
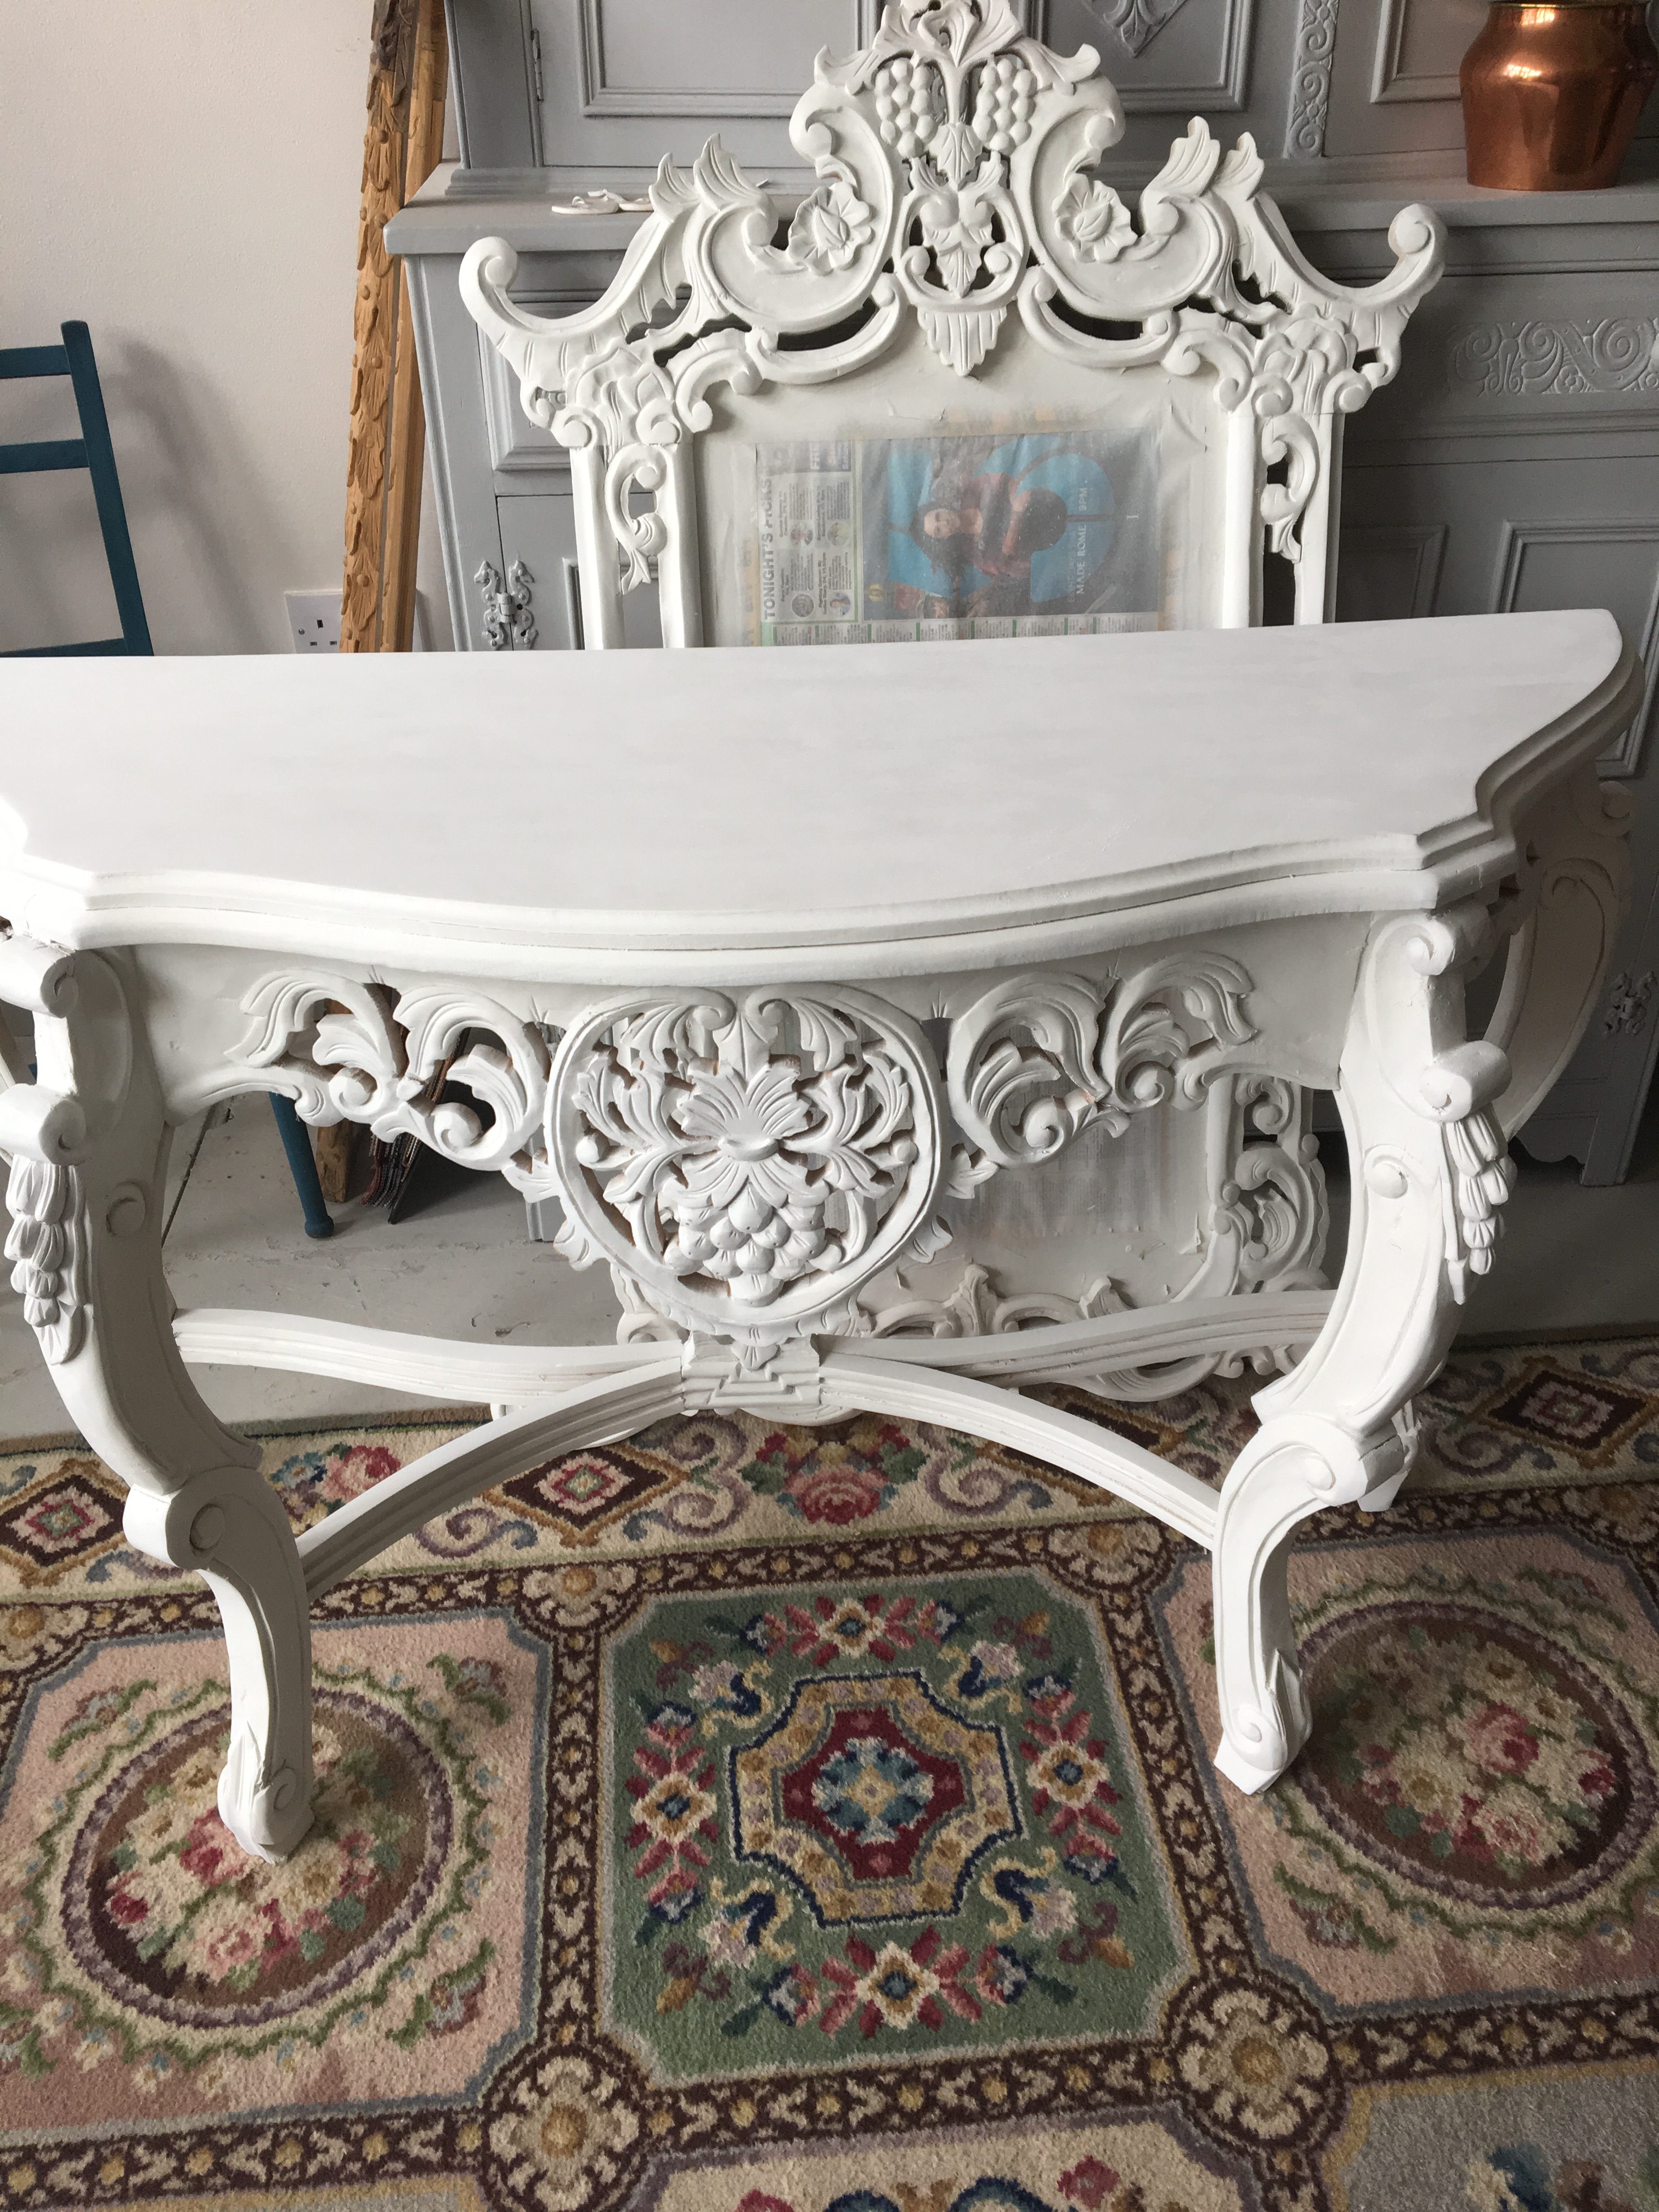
The clients husband kindly primed it and it arrived at the shop like this all masked and ready for the base coat. 👌 I base coated it black because the glaze was going to be black and I knew the Gold leaf wouldn’t go all the way into the holes in the carved areas. It would ensure the whole piece came together and looked cohesive.
I sprayed the whole thing with Fusion’s Coal Black with my spray gun. I get asked all the time which gun I use, this is my recommendation for beginners and Pro’s it’s the Clarke HVLP unit and I bust this one out if the project is small to medium.
Gold Size.
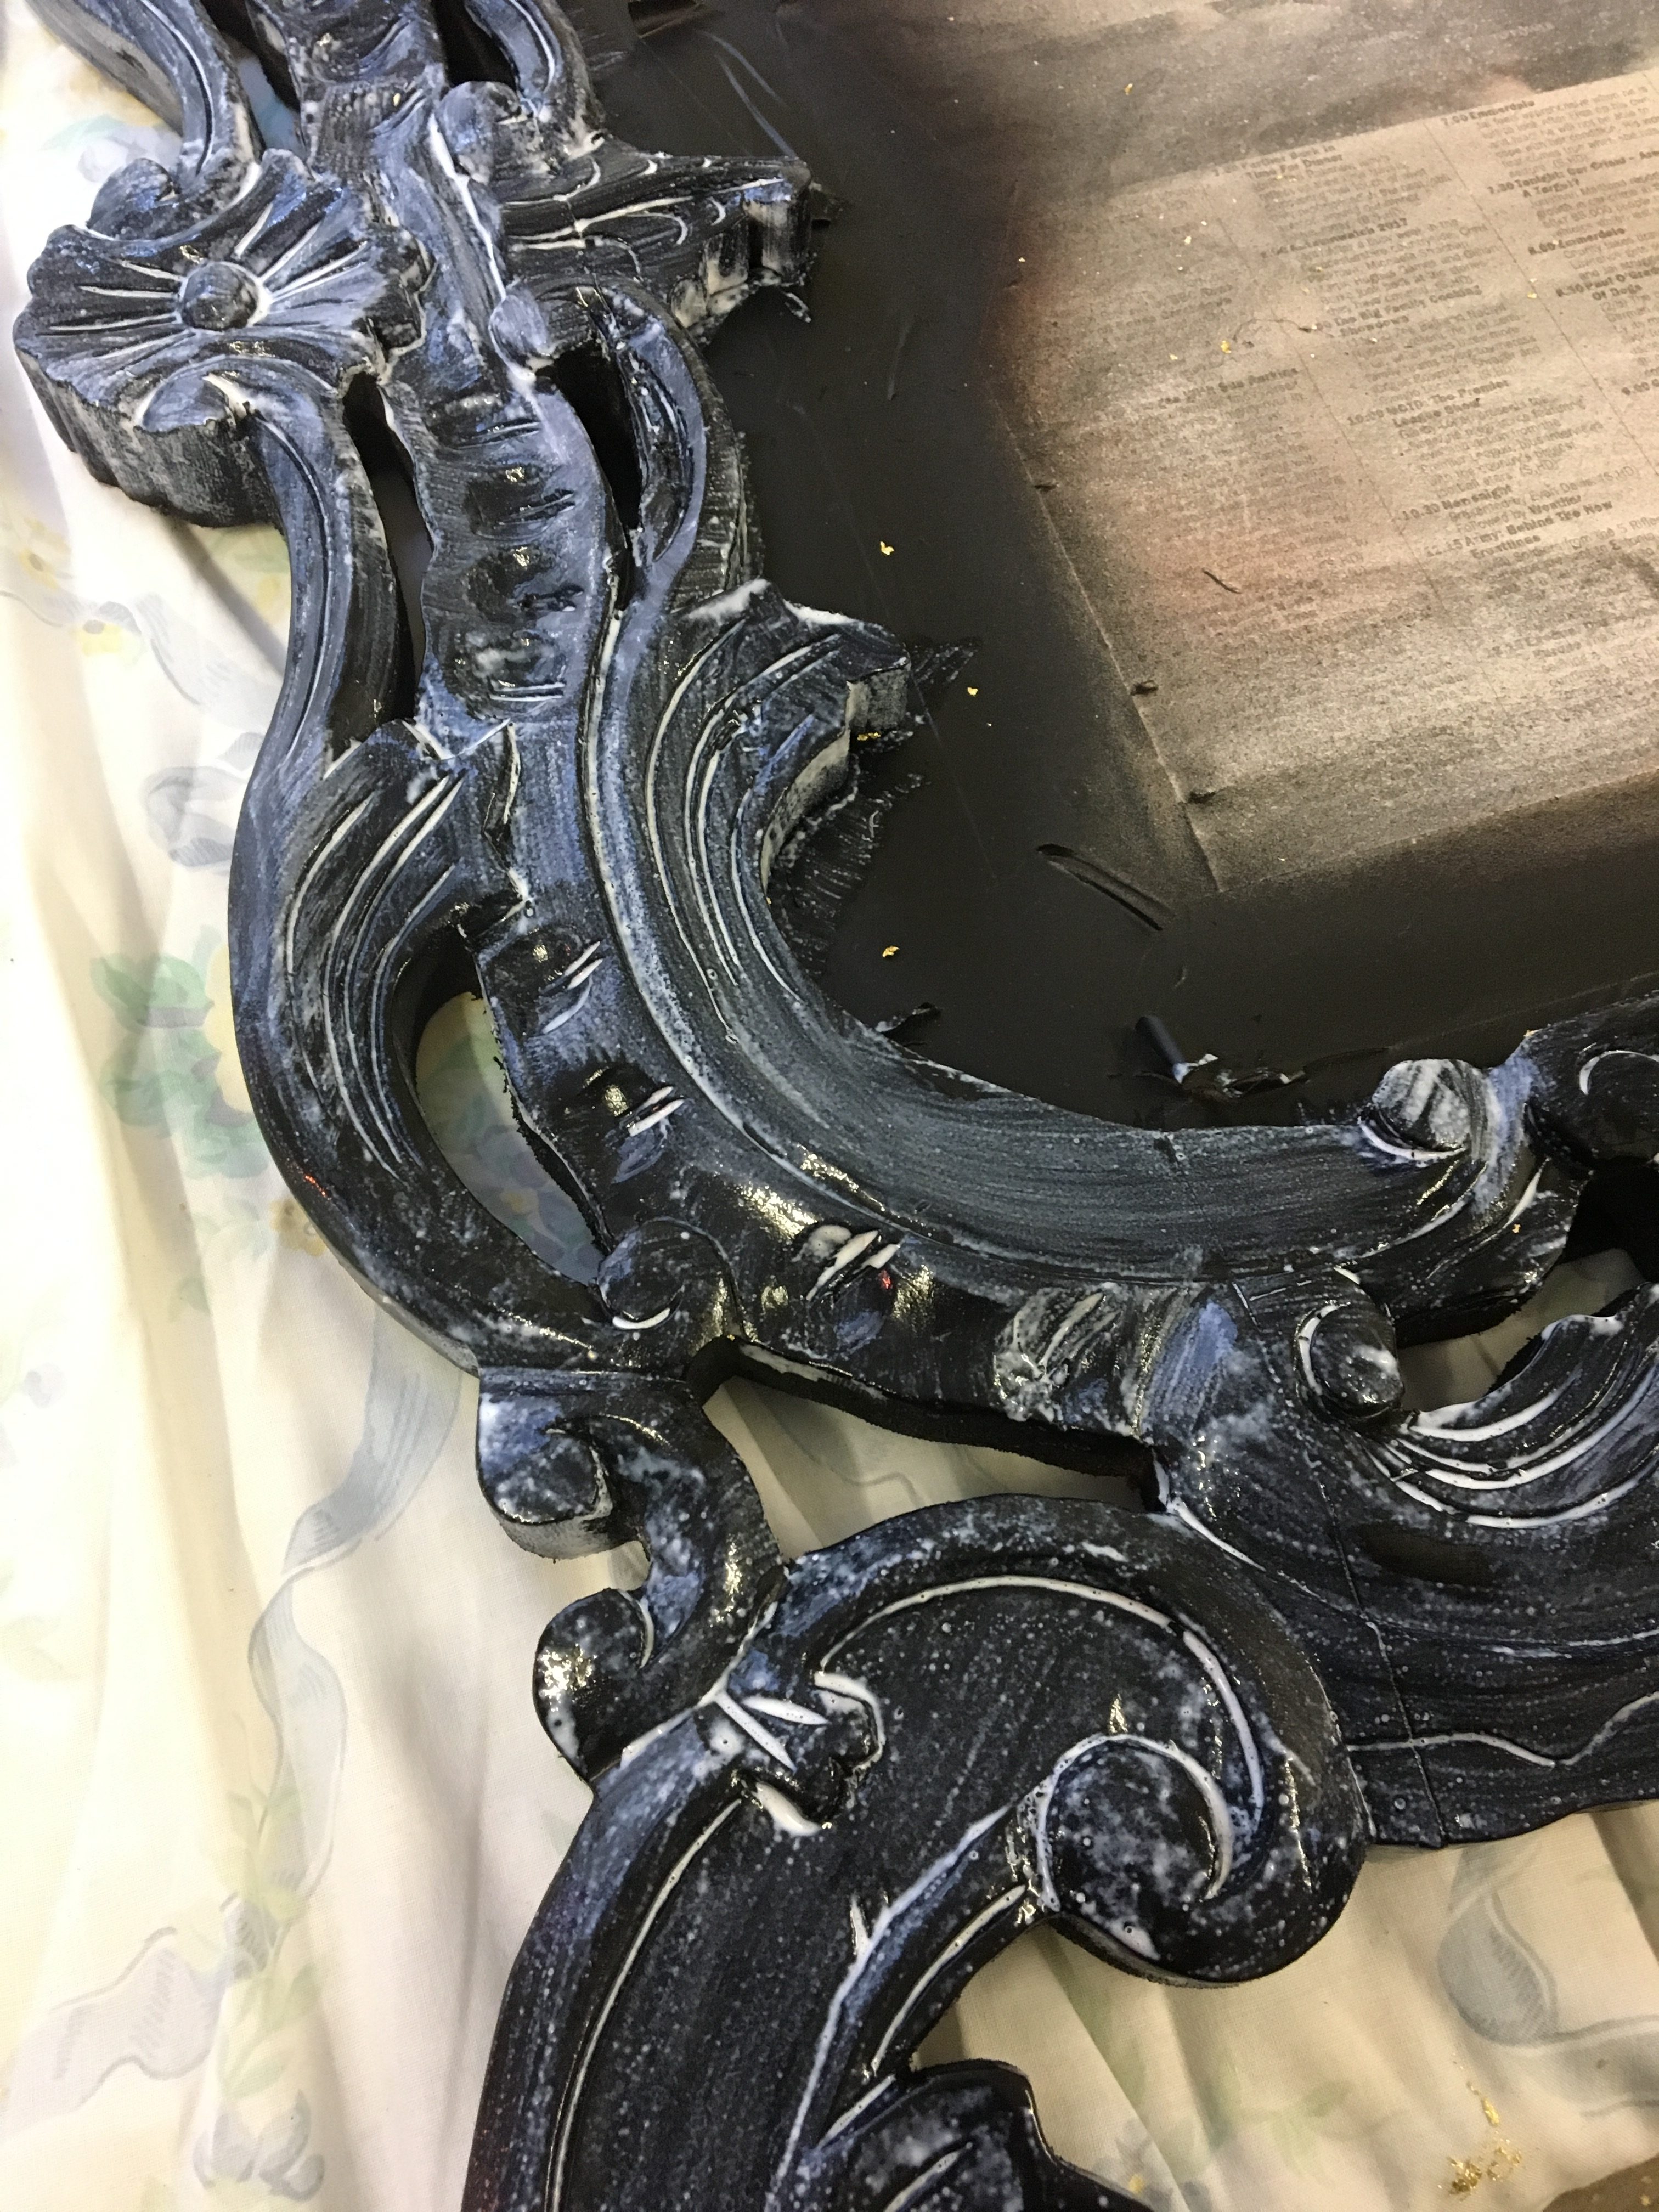
The Gold size is just a fancy word for the glue/adhesive used to stick the Gold leaf, it’s water based and is a milky white when applied. You know when its come to tack because it’s clear and if you put your finger on it and pull, it makes a pop sound.
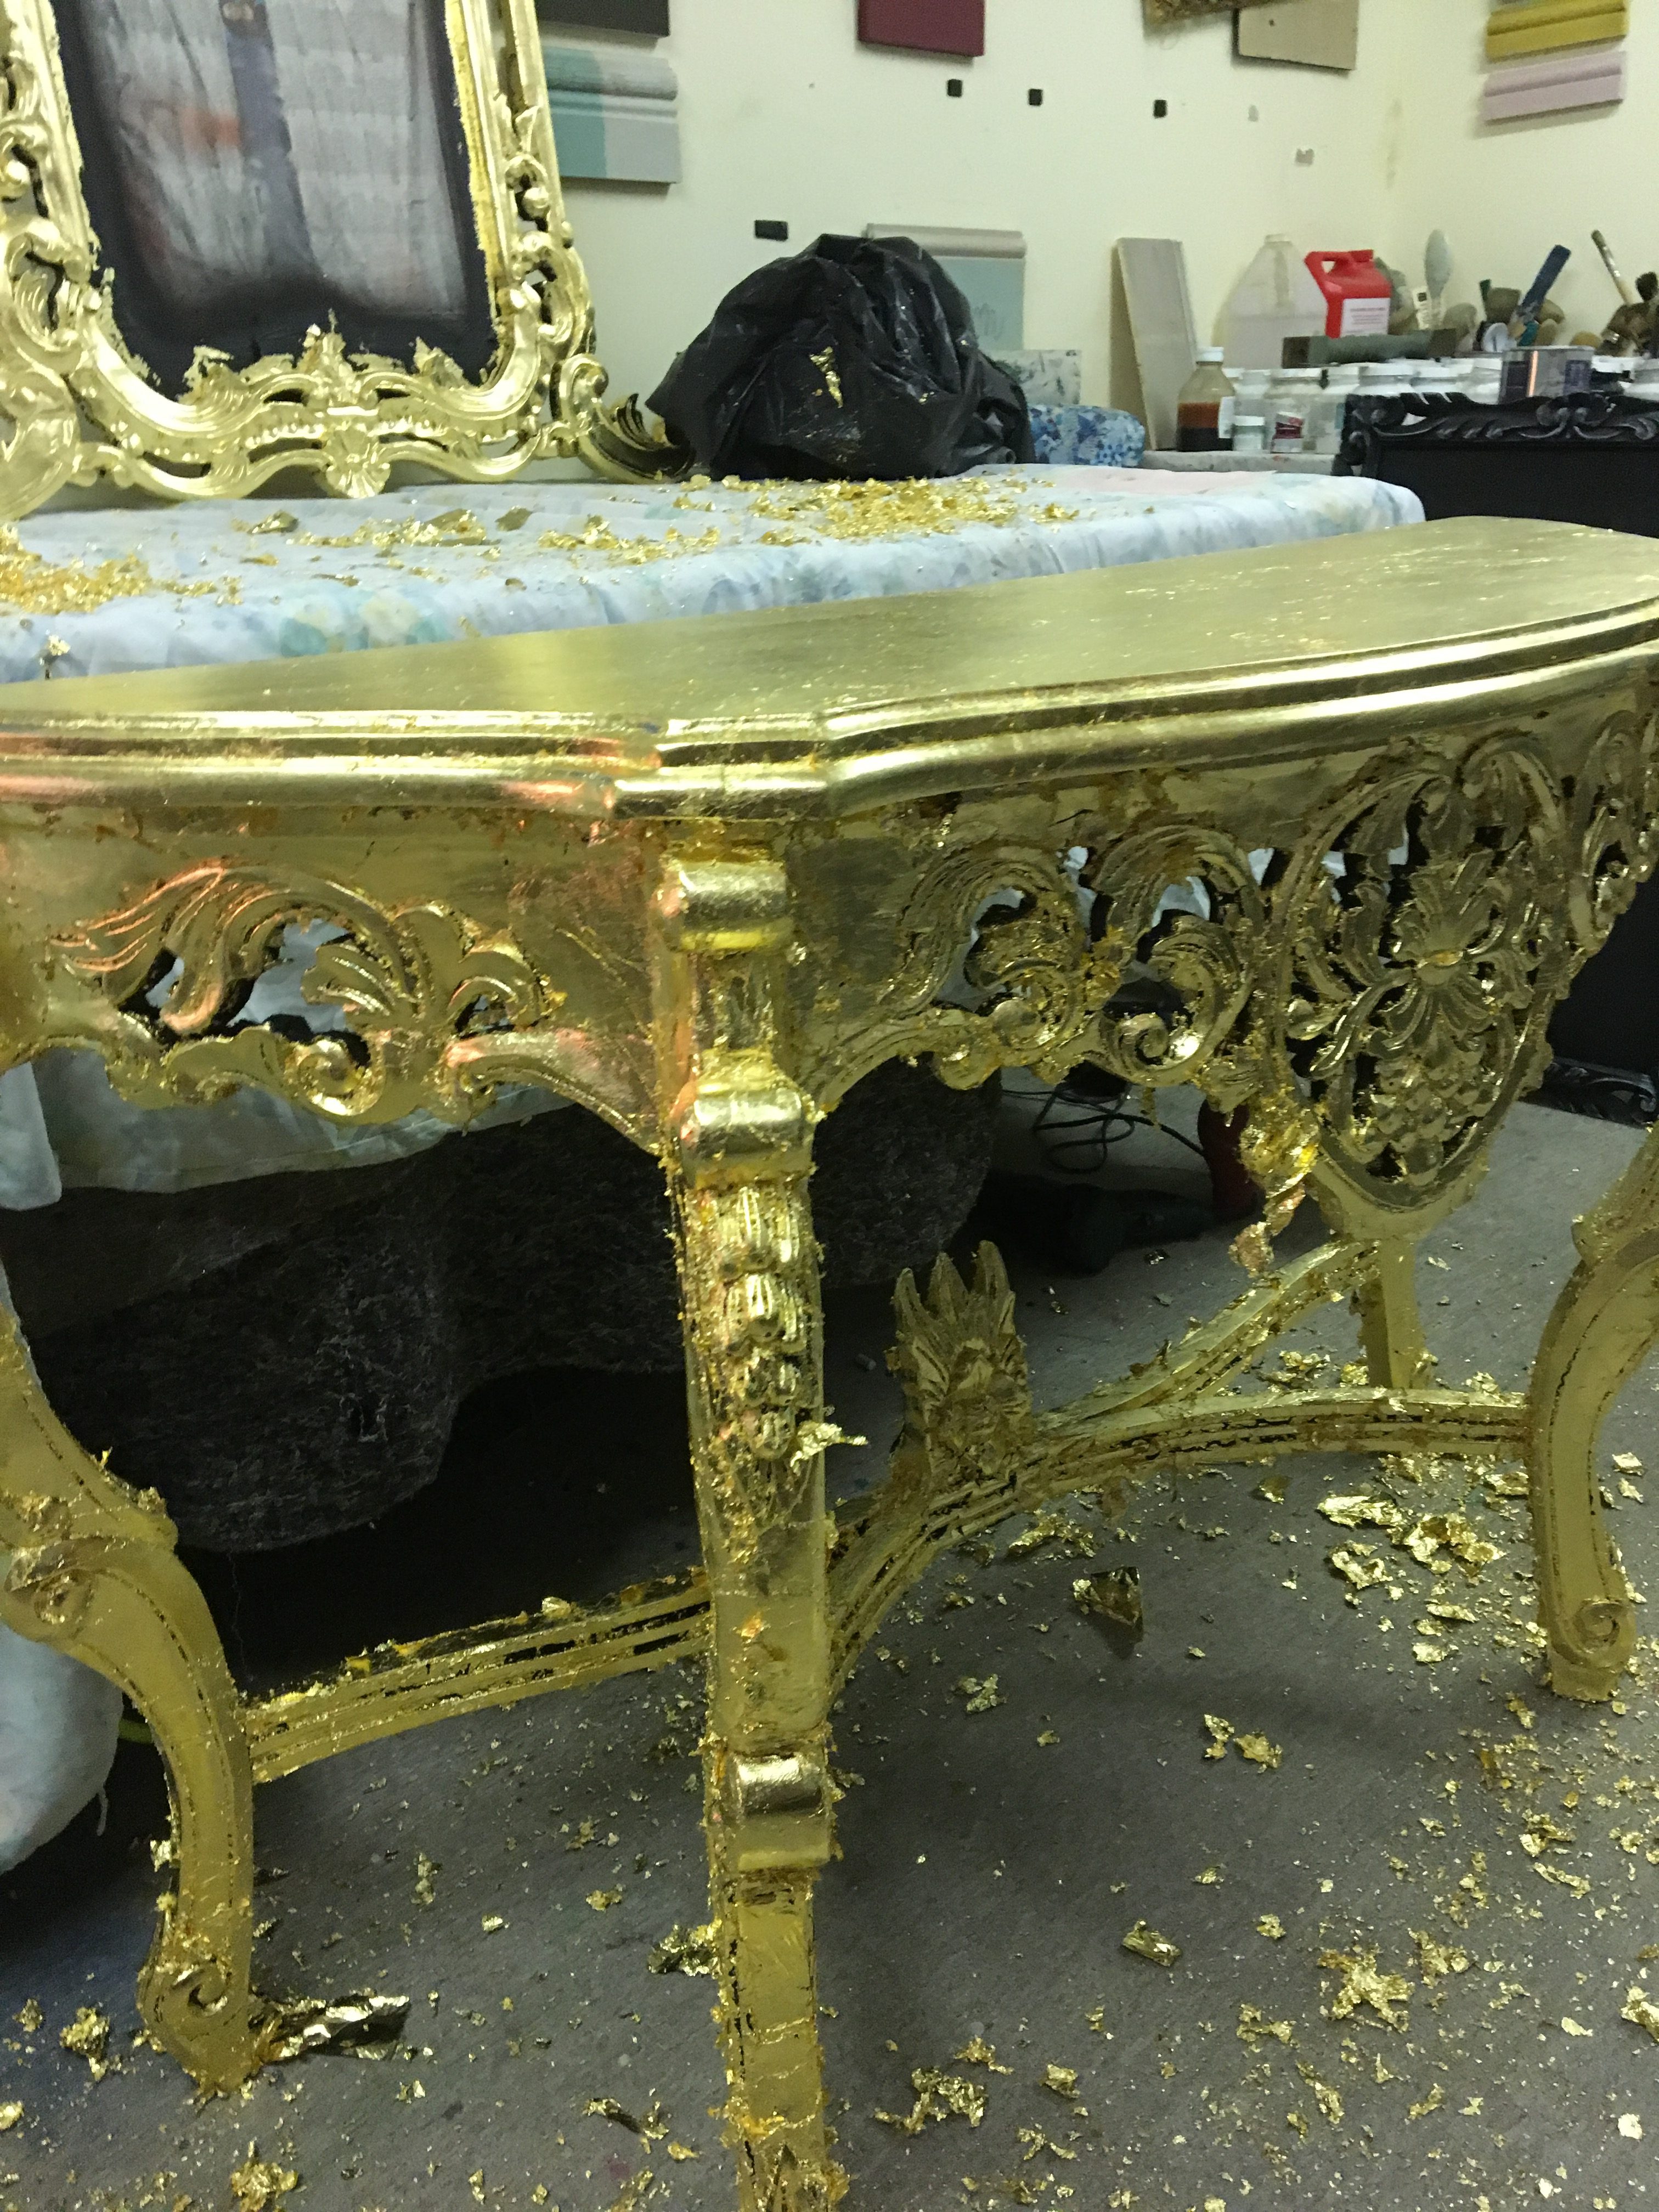
Gold Leaf
Once the glue is at tack you place the leaf on the glue, when the entire project is covered you push the leaf into the nooks and crannies with a soft brush buffing away the excess as you go. Now I’m not the neatest person when I’m working but I’ll tell ya this stuff gets everywhere!! It looked a mess in the workshop when I was done, but I did manage to salvage some of it for another project.
Glazing
I used Fusion’s clear glaze tinted with Coal Black, using an old brush I scrubbed the Glaze all over the piece leaving it to grab for a while before I wiped off the excess with a clean damp rag.
This video shows the Glaze being applied.
This video shows it being wiped off.
I hope that shows how easy it is to use Glazes, I love to use them to accent pieces like this one. I also did An easy guide to Glazing post you can find that here.
Top coat
The client didn’t want to lose the beautiful metallic sheen from the gold leaf so a satin top coat was applied, I used an aerosol kind and it worked beautifully. Without further ado lets look at the end result, I must say I was really pleased with how it turned out and thankfully so was the client .. Brucey bonus!
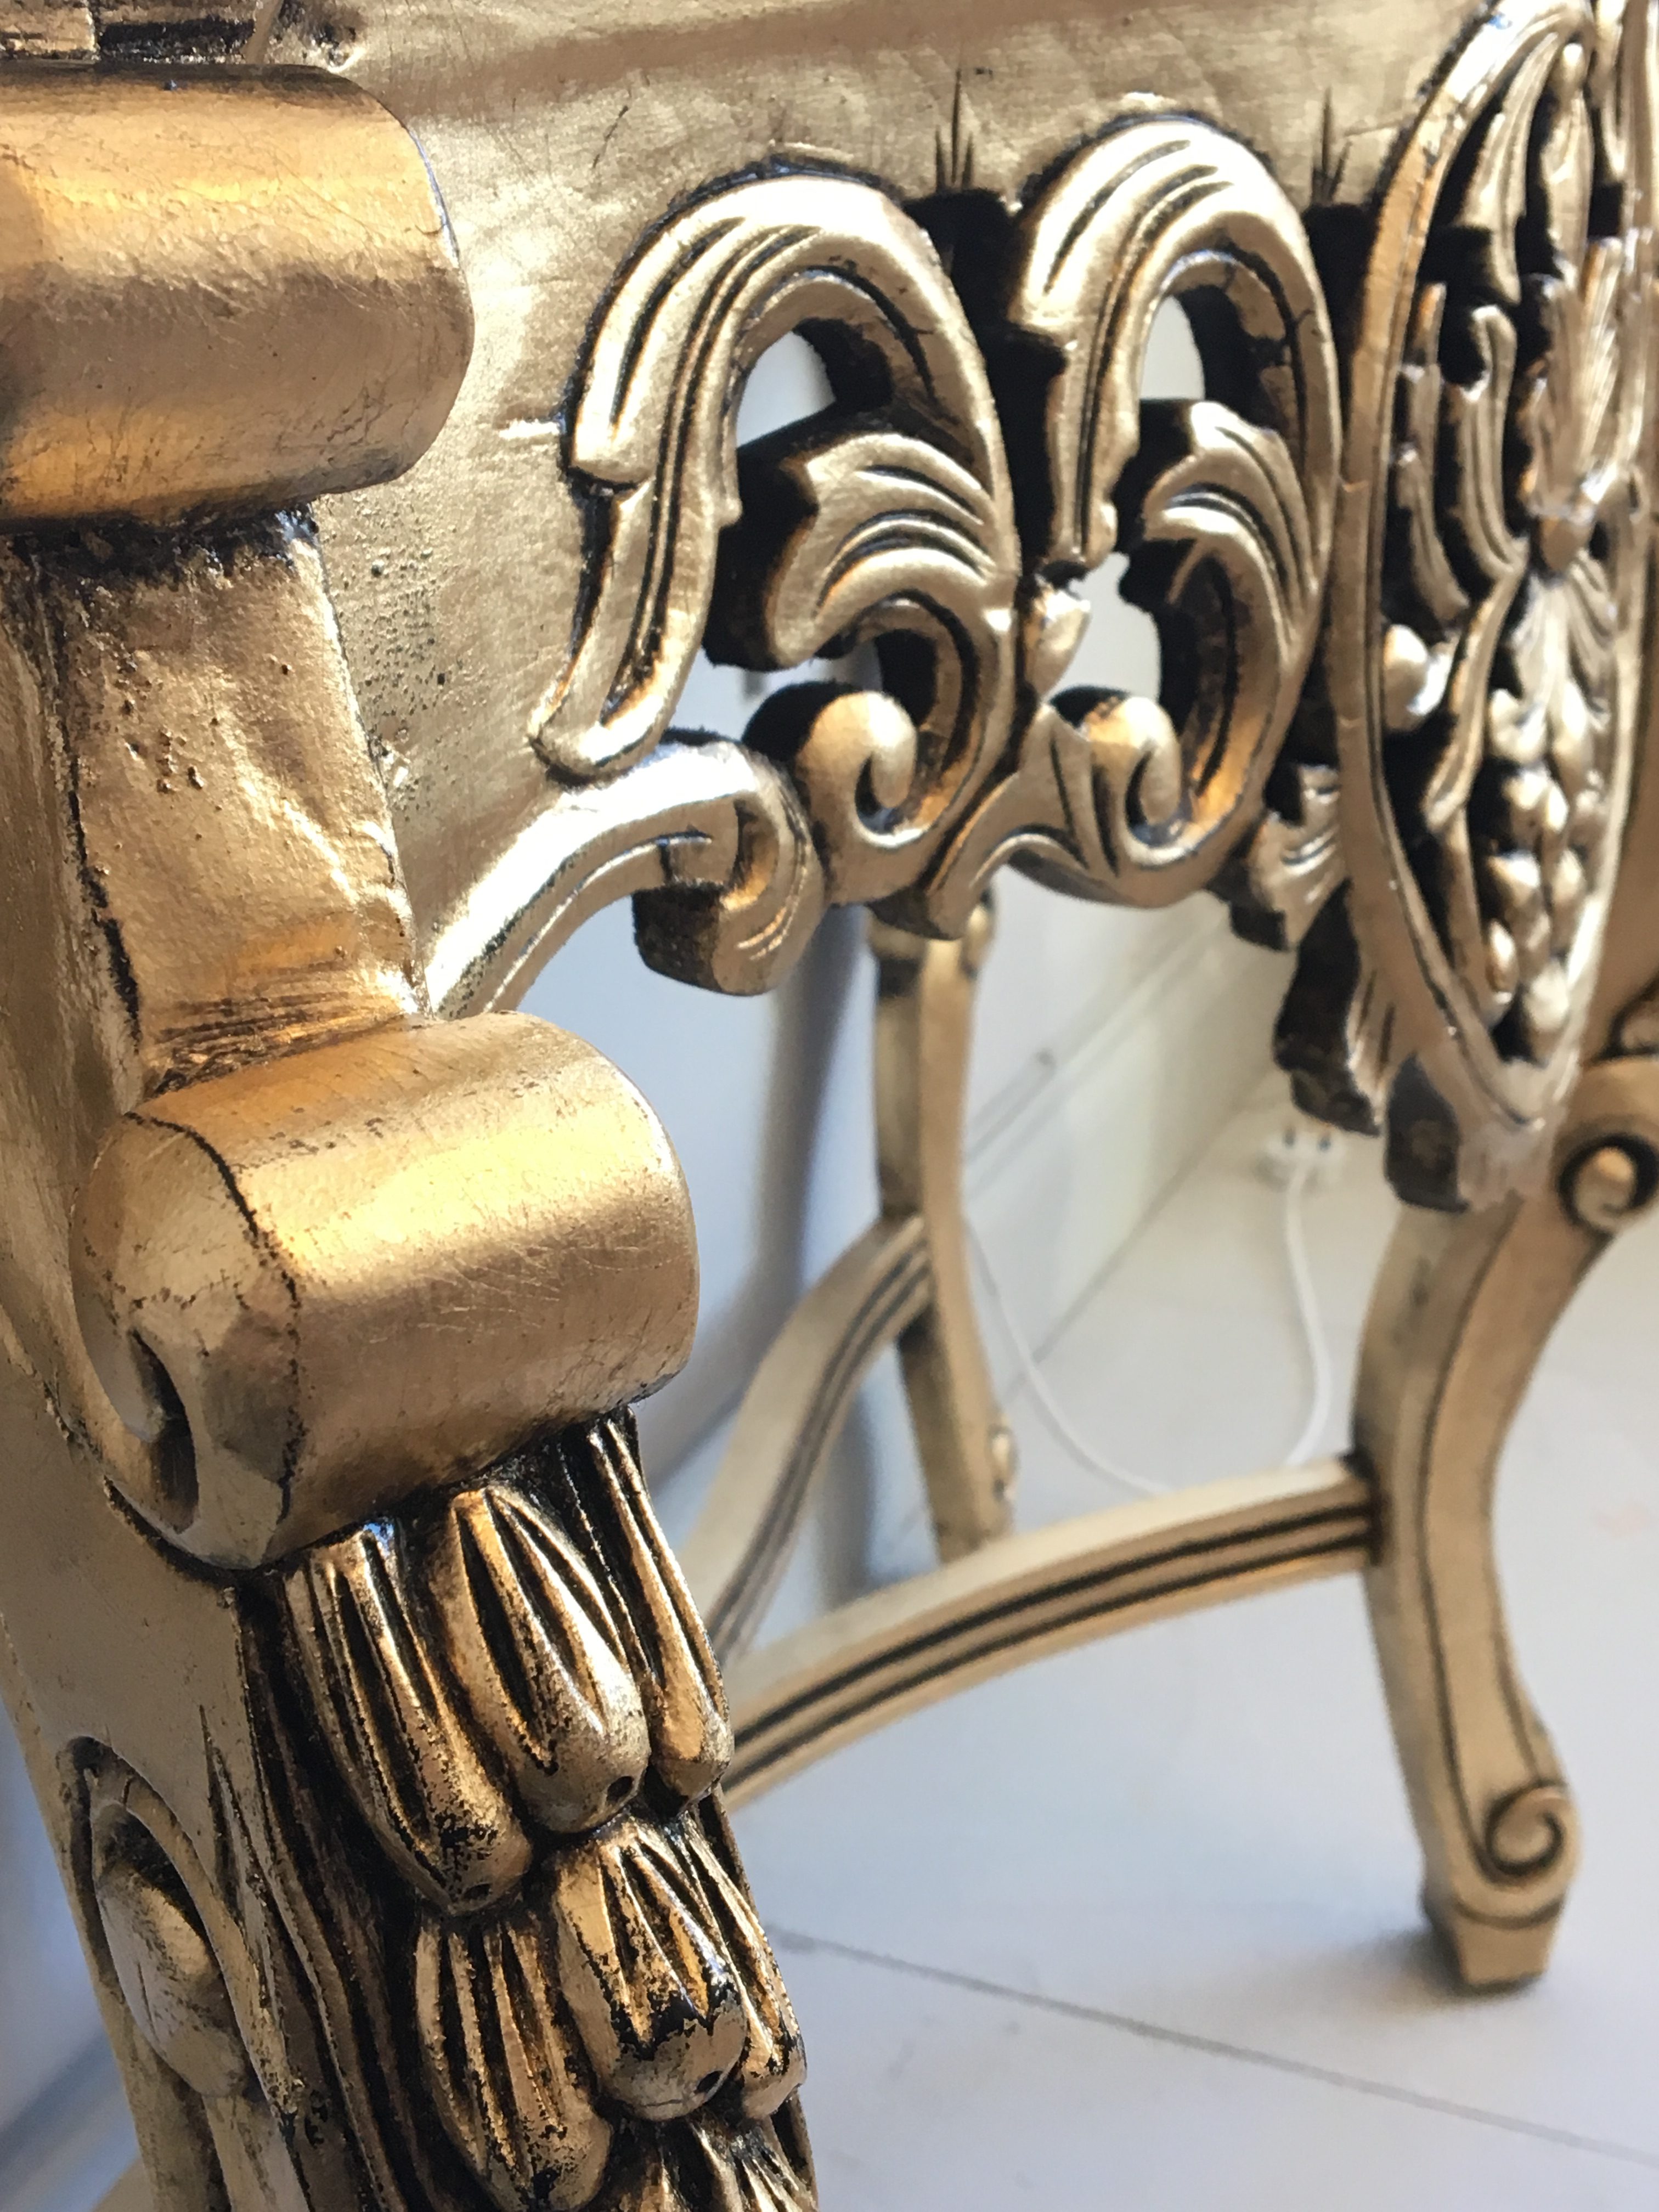
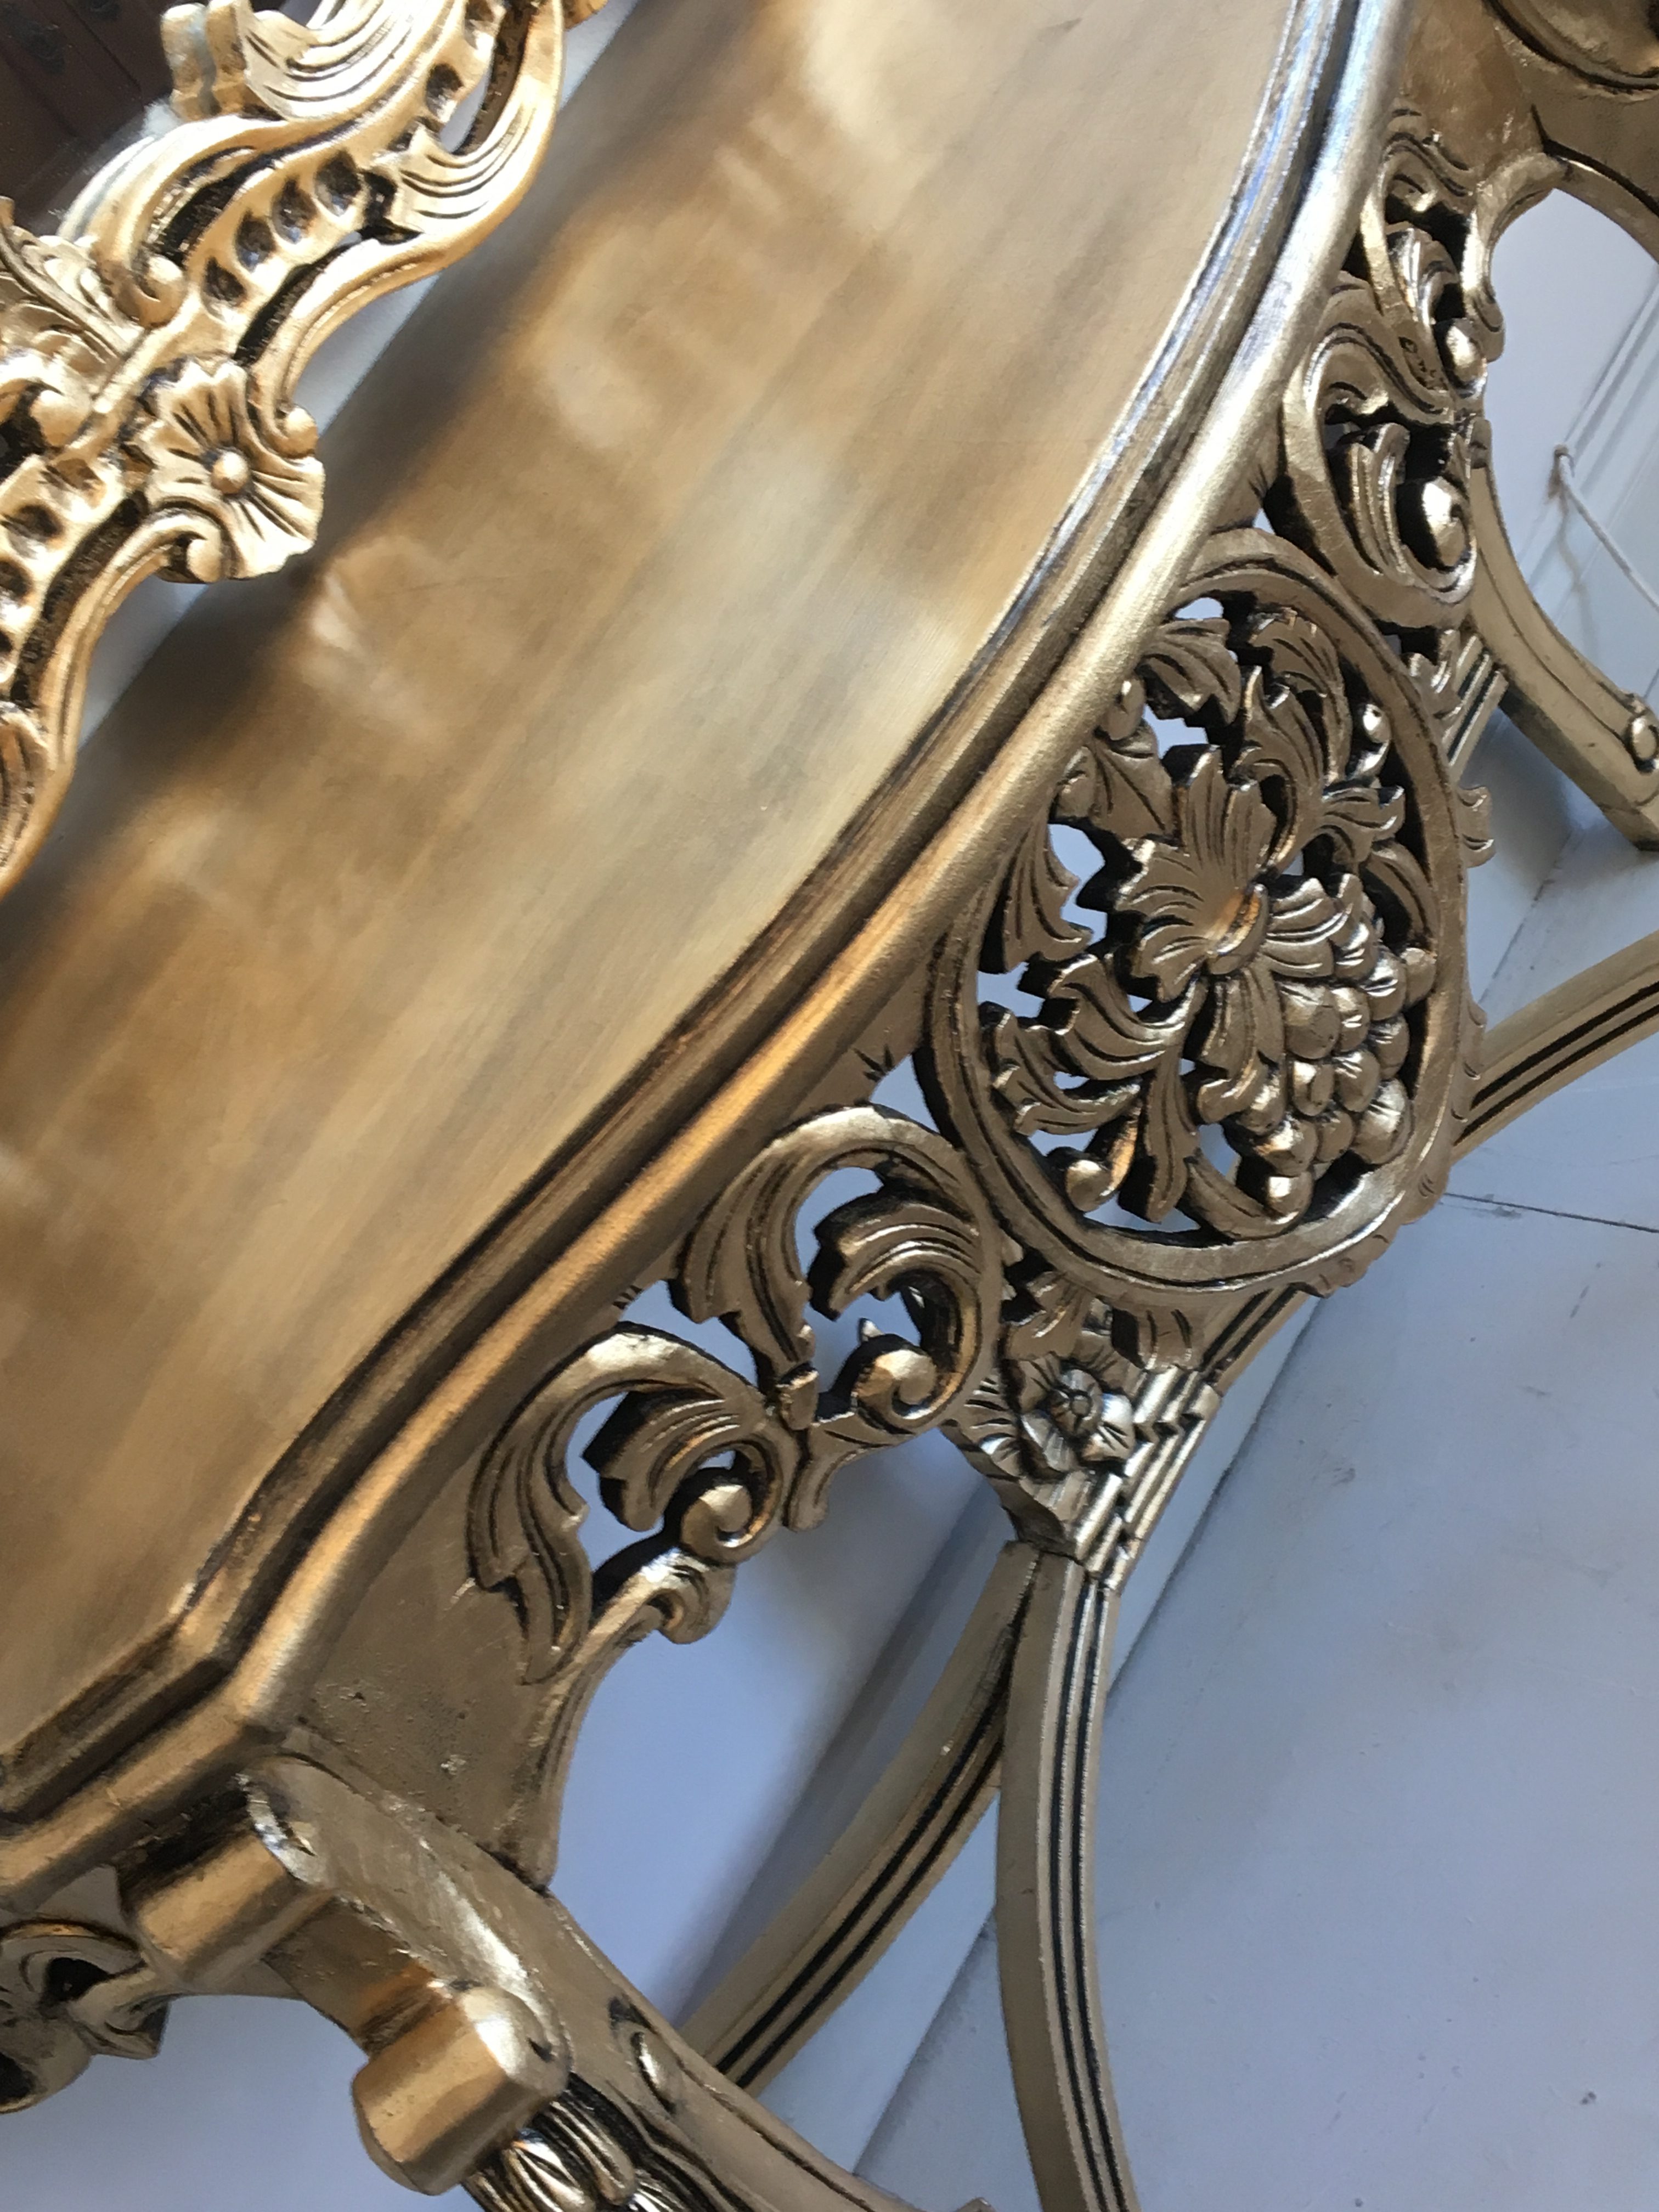
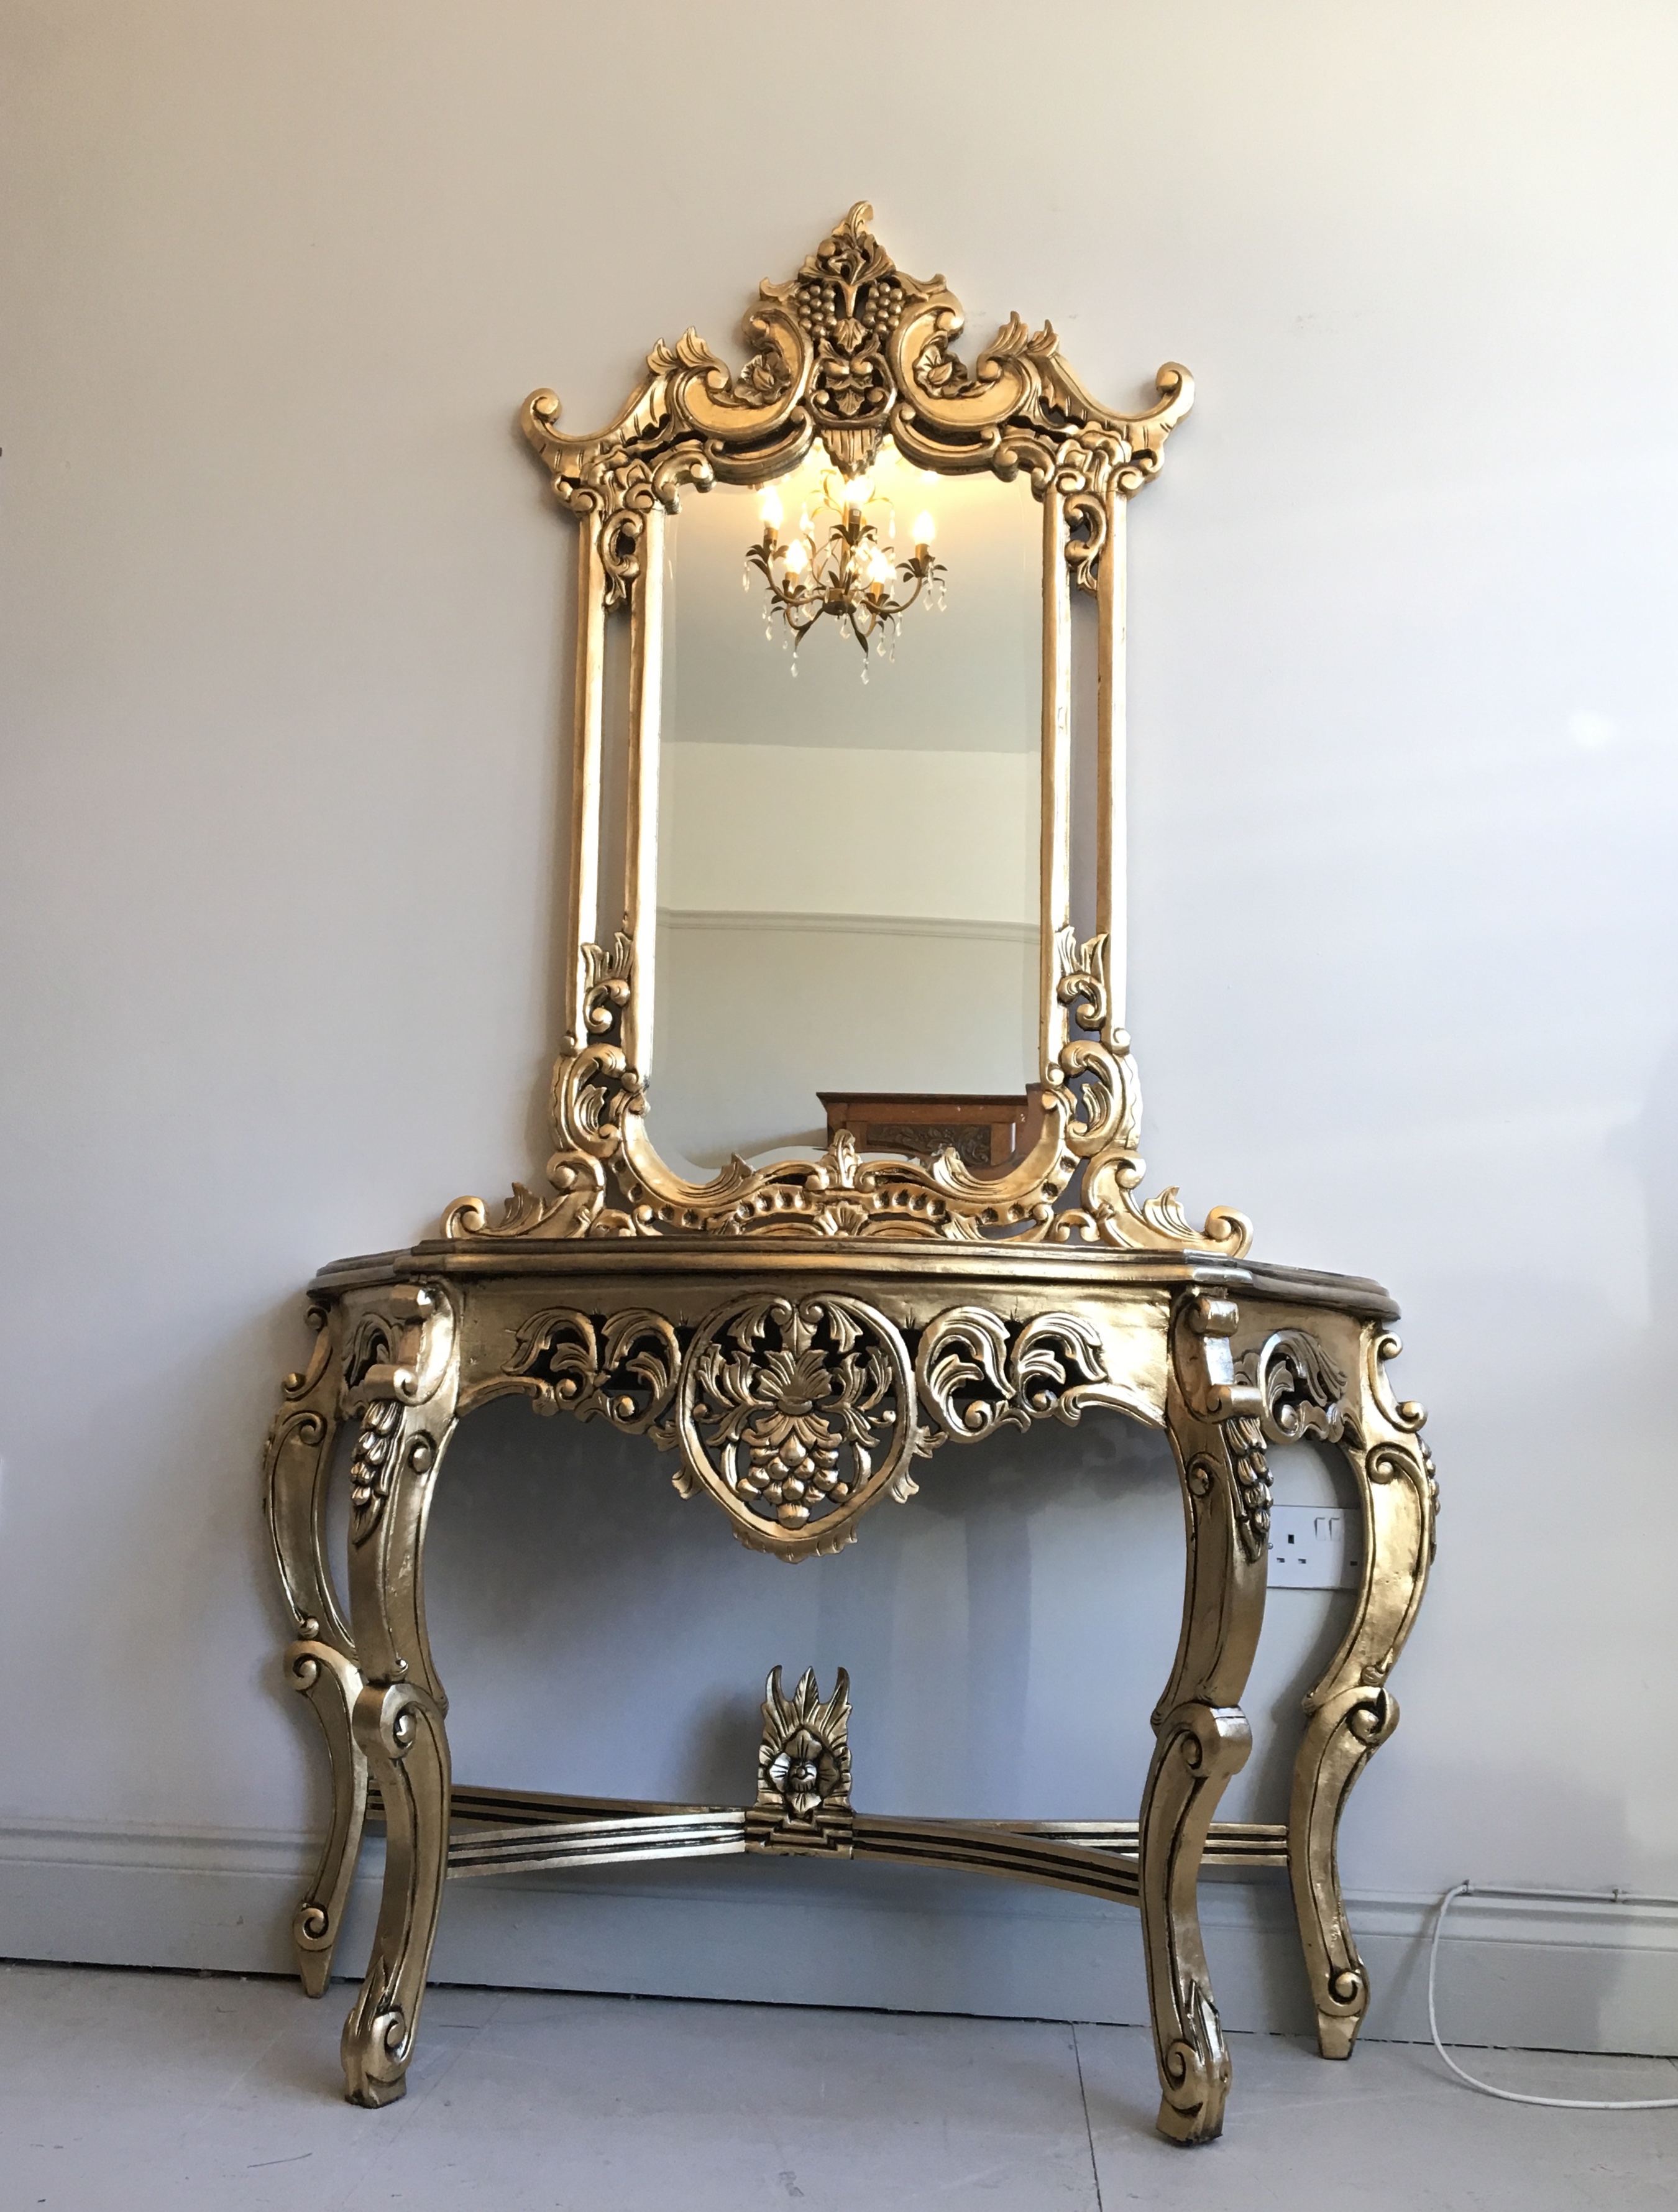
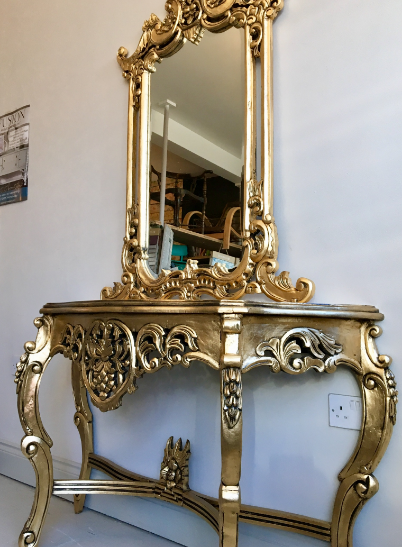
I’m really pleased with how it turned out, the patina on the flat areas from the glaze looks brill! Although on a large scale, this technique is simple and easy, anyone can do this.
If you have used Gold Leaf before for furniture or other home decor items, I’d love to see the pictures! post them below or pop over to my Facebook page and leave them there.
Sarah X