Fusion™ Fresco faux polished plaster
Fusion™ Fresco faux polished plaster
First, let’s talk about Fusion™ Fresco and what it can do.
Fusion’s Fresco is a texturising powder you add to paint to create different textures and effects.
SEA SWEPT
Mix 1 part Fresco to 2 parts Fusion™ Mineral Paint with a whisk or a paint stir stick for approximately 30 seconds.
This will cause lumps and chucks in you thicken paint which is what you want. Apply it to your surface by brushing or stippling on and knock down and peaks that are too high ( this stuff drys hard ) when dry paint with you topcoat colour let dry, and wet sand to reveal down to the Fresco layer/texture.
Here is an example of this
CRACKLED HEAVY TEXTURE
Mix 1 part Fresco to 2 parts Fusion Mineral Paint.
Apply a thick (2-3mm) layer of mixture to your paint ready surface. Allow to set for 10-20 minutes. Knock down any heavy lumps by passing your brush over them. The heavier the texture the larger the cracks. Applying sunlight or heat will increase crackle effect.
FLAT MATTE CHALKY FINISH
Mix 1 part Fresco to 8 parts Fusion Mineral Paint.
1 Small Bag will make 2.5 Quarts or 5 Pints of Flat Matte Chalky Finish.
Apply mixture in various directions for a hand painted look immediately upon application. If any lumps occur, brush them out. If using the included scoop, add 4 scoops per Pint for this look. Add more or less as desired.
POLISHED PLASTER
I have been wanting to try this for a while now cause I’d like to have a polished plaster wall in my kitchen so I started testing a Lime Paint. While I was testing I posted about it on Instagram Stories ( you should follow me over there, you get to see behind the scenes ) and none other than Loree Pringle, Jennylyn’s mum and co-founder of Home Stead House Company ( Parent Company to Fusion Mineral Paint ) was watching and DM’d me to say if I added a bit more Fresco to Fusion I’d get a ‘sorta’ Lime Paint!
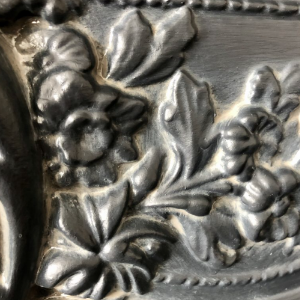
So that’s what I did and it took a while to get it right but I managed to get the Fresco’d paint to burnish and shine like glass!! Wanna see?
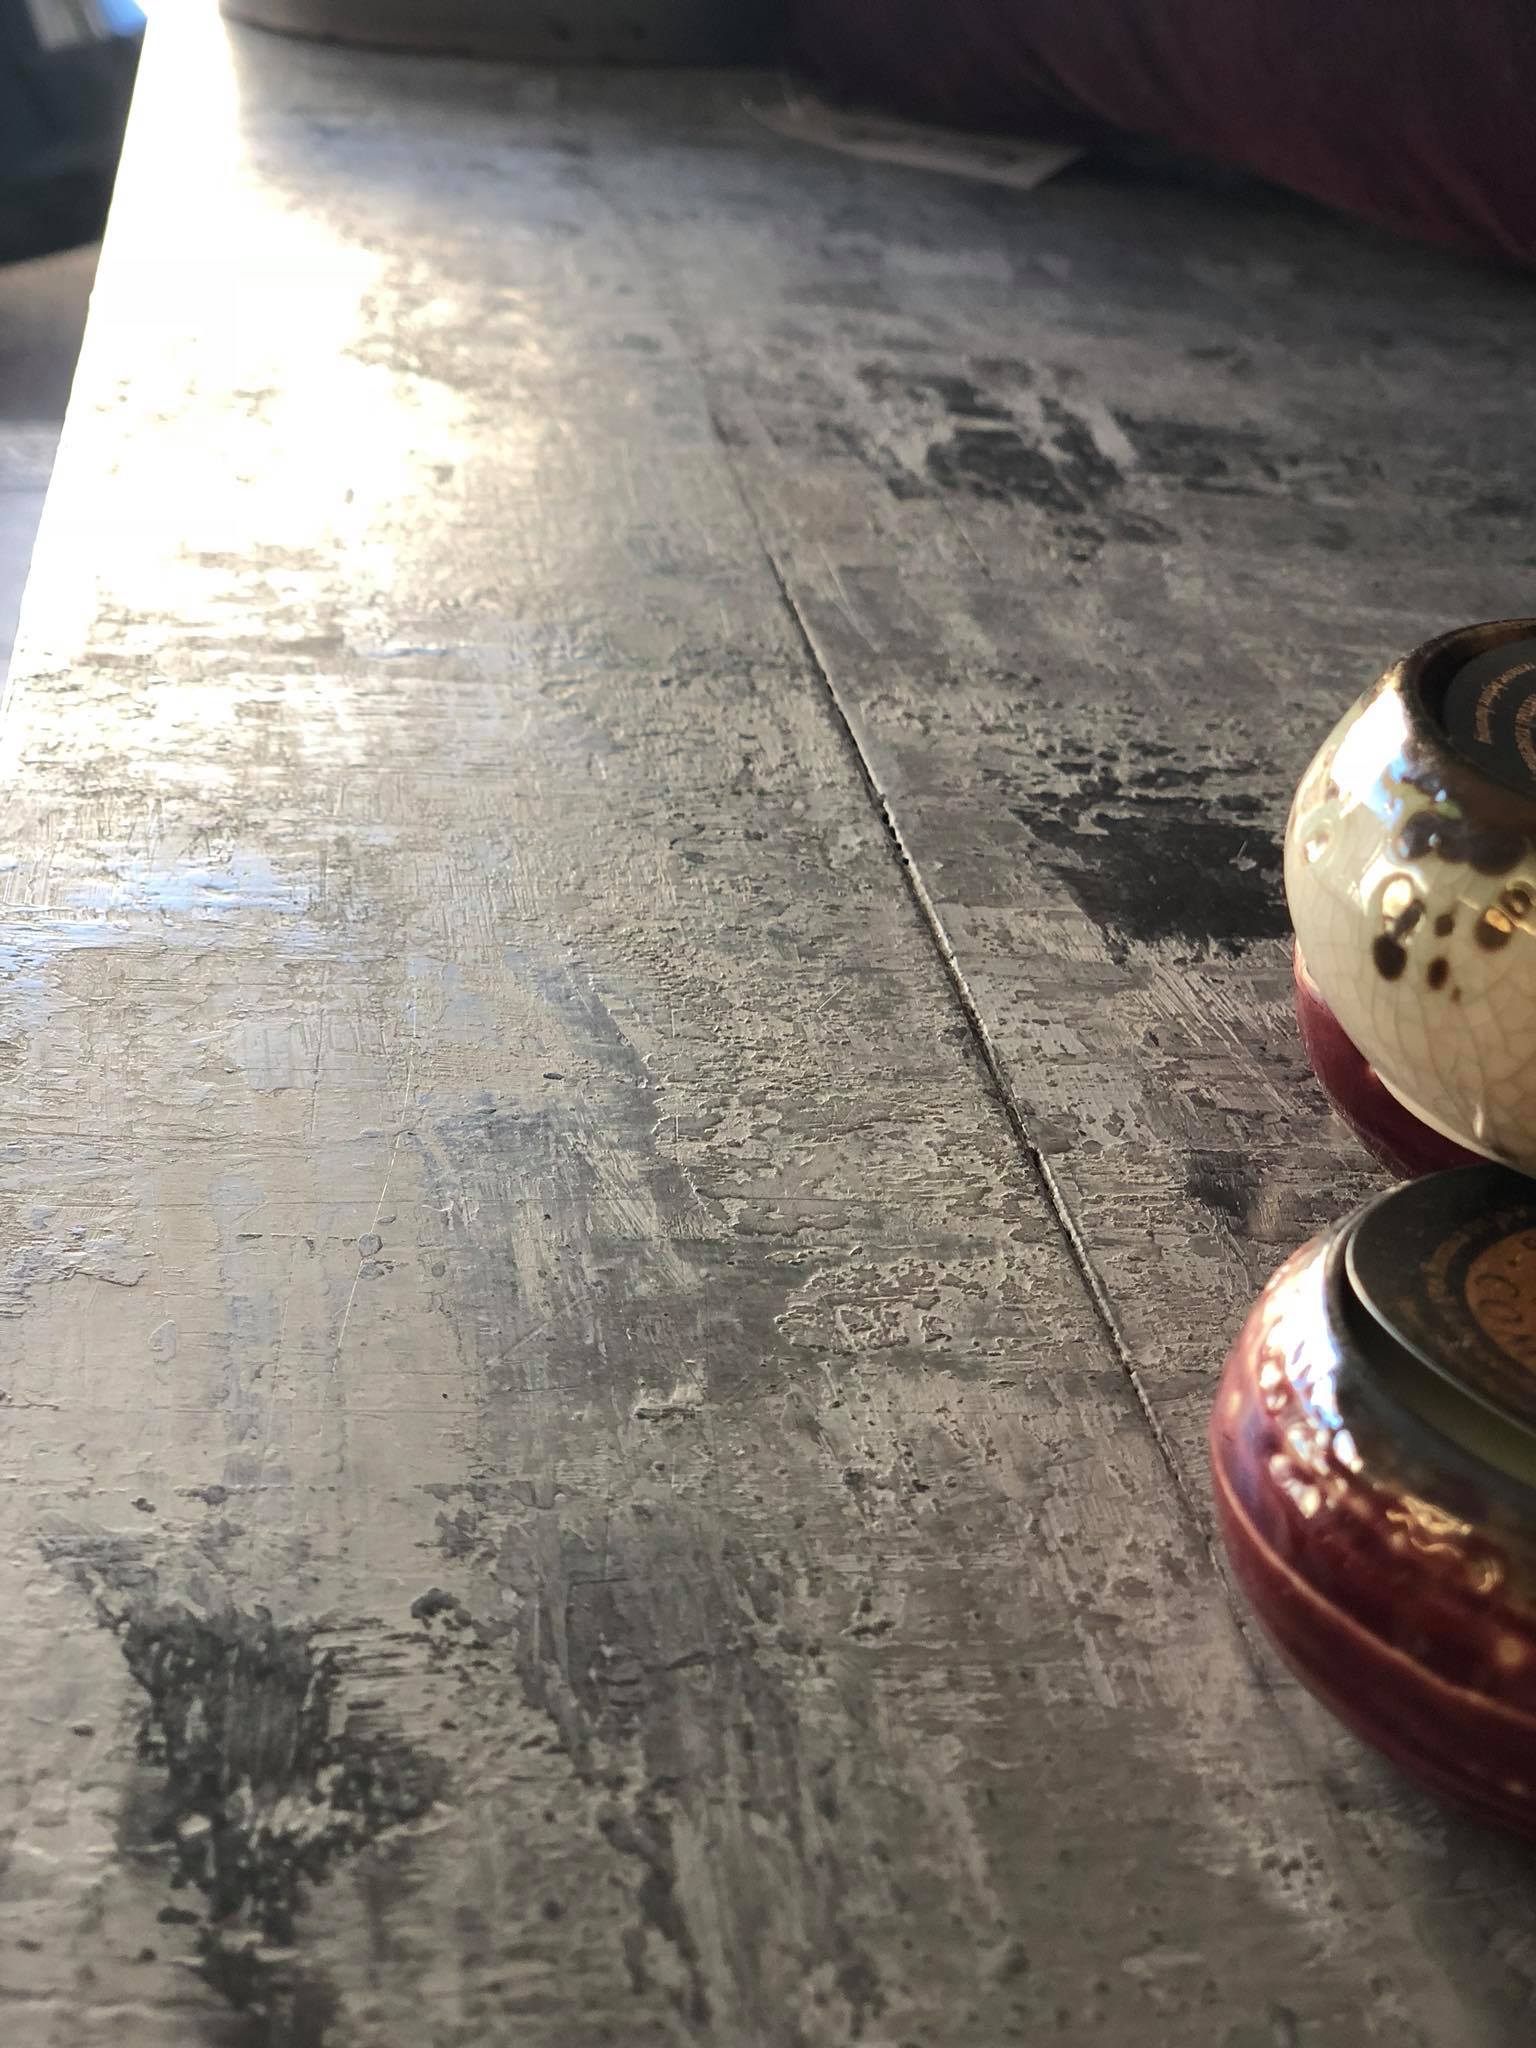
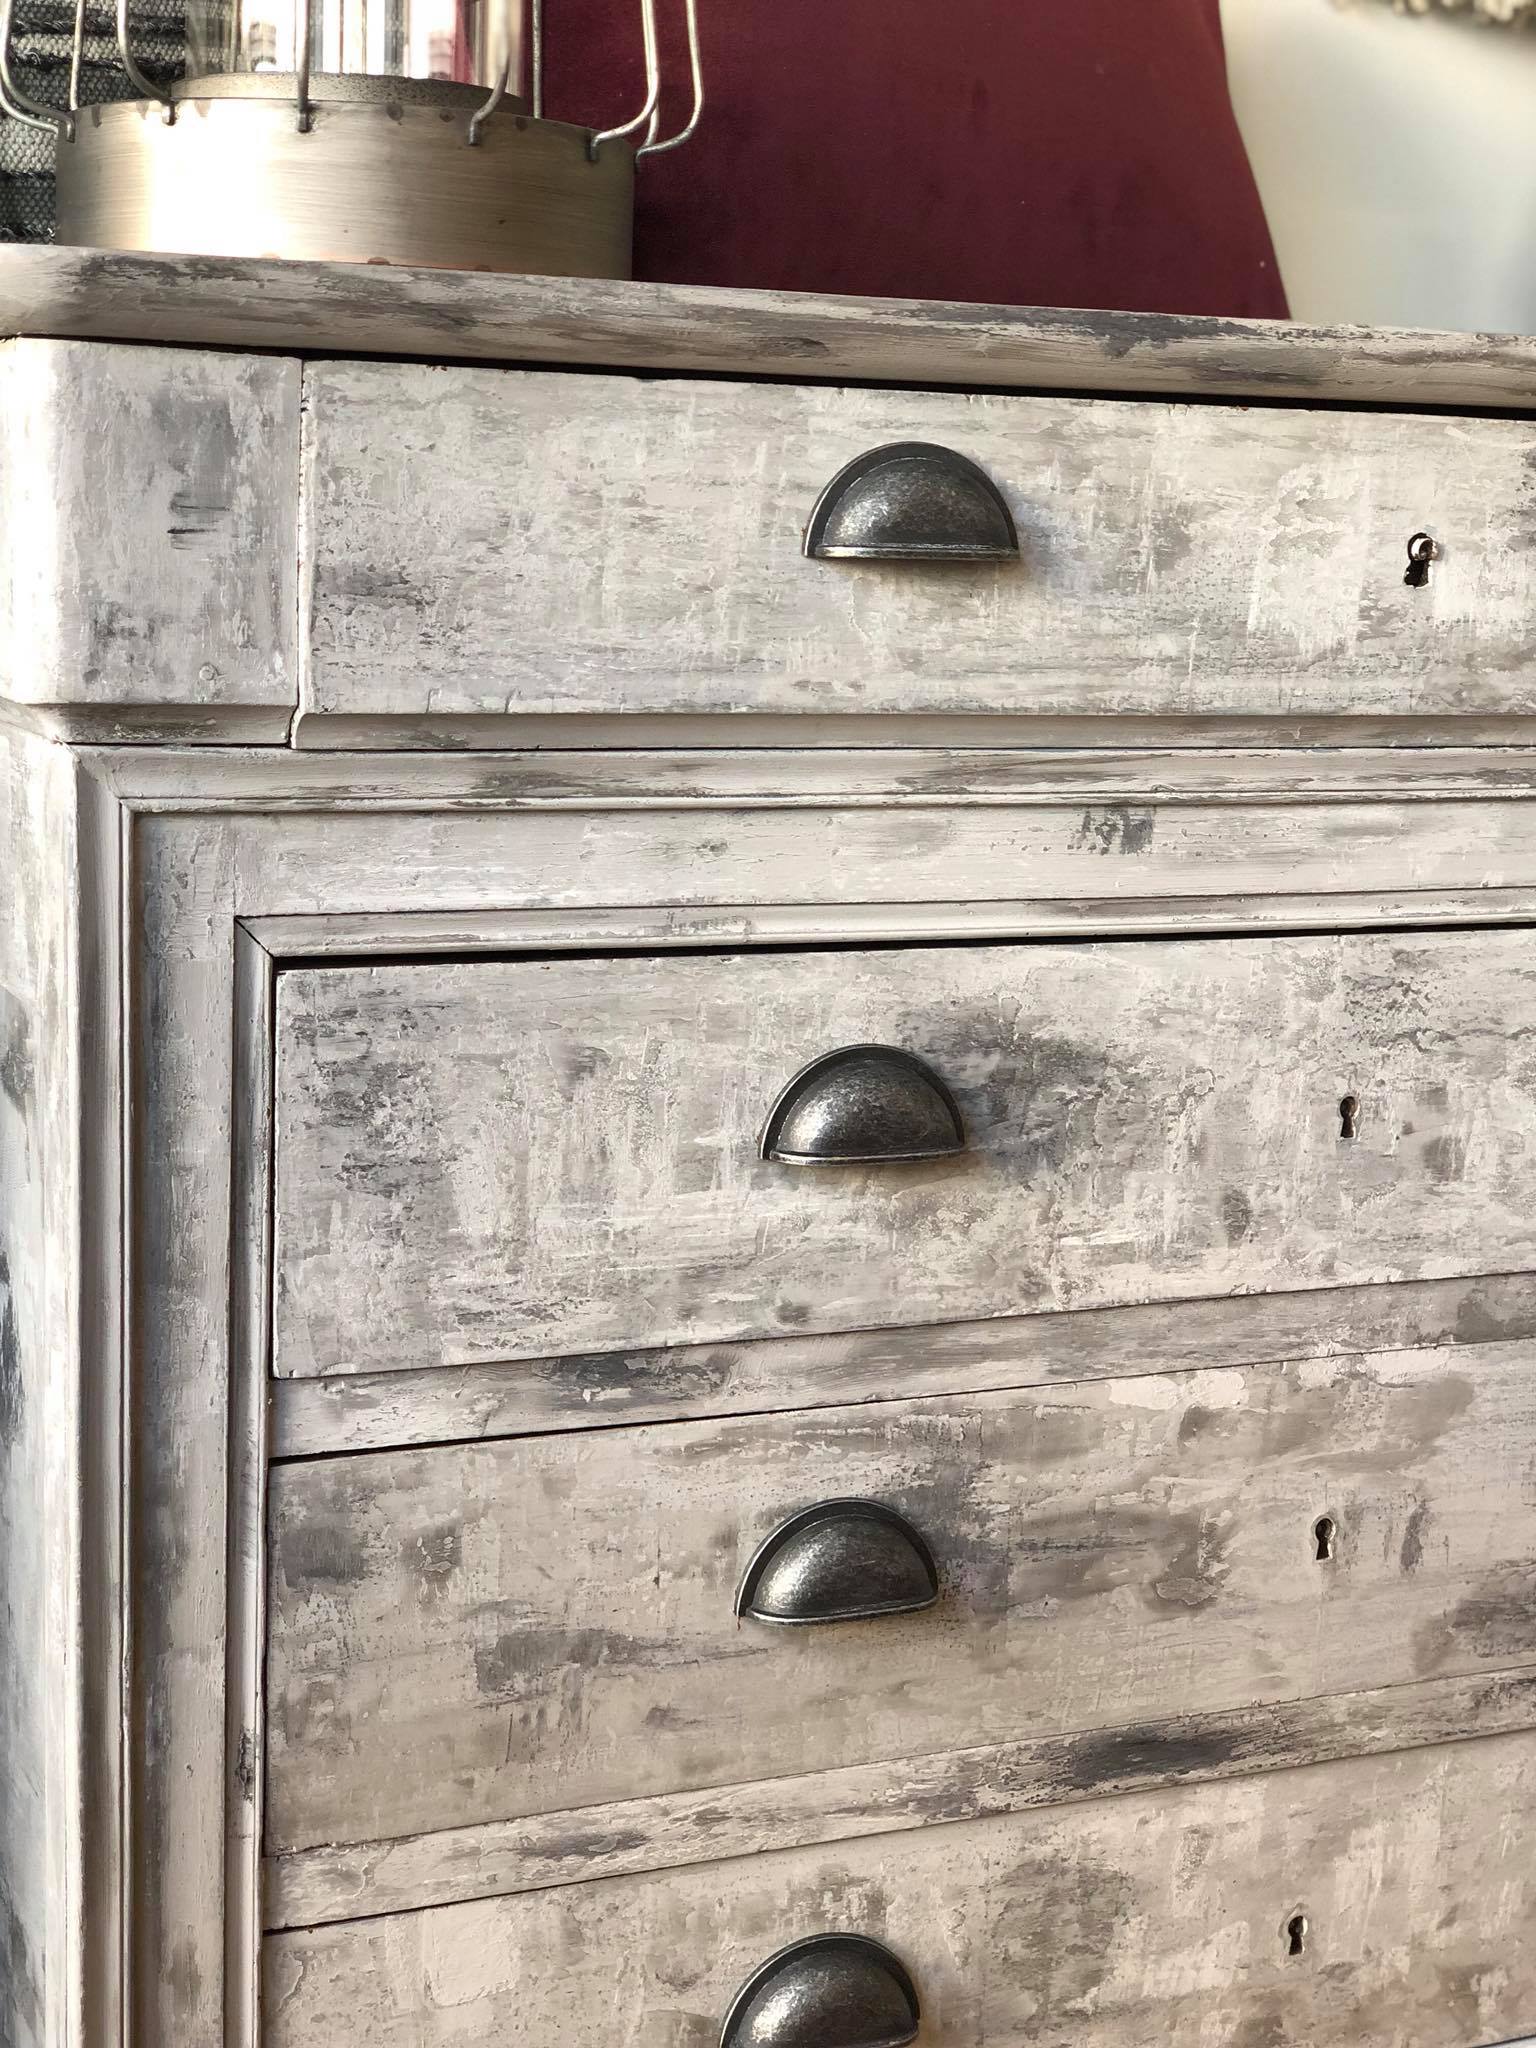
Like I said it took a bit to work out how to get it burnished like this, but once I sussed it out the process was pretty simple even if it was a bit laborious. For this piece, I used Little Lamb with lots of Fresco, in 2 separate pots I added the same mix but in one added some Farmhouse white Milk Paint, and in the other some Black Typewriter Milk Paint. I wanted some pigment streaks to show so I didn’t mix thoroughly.
Can you believe that it created all these tones! It was the process that added these different shades in and I was pleasantly surprised that they occurred naturally.
THE PROCESS
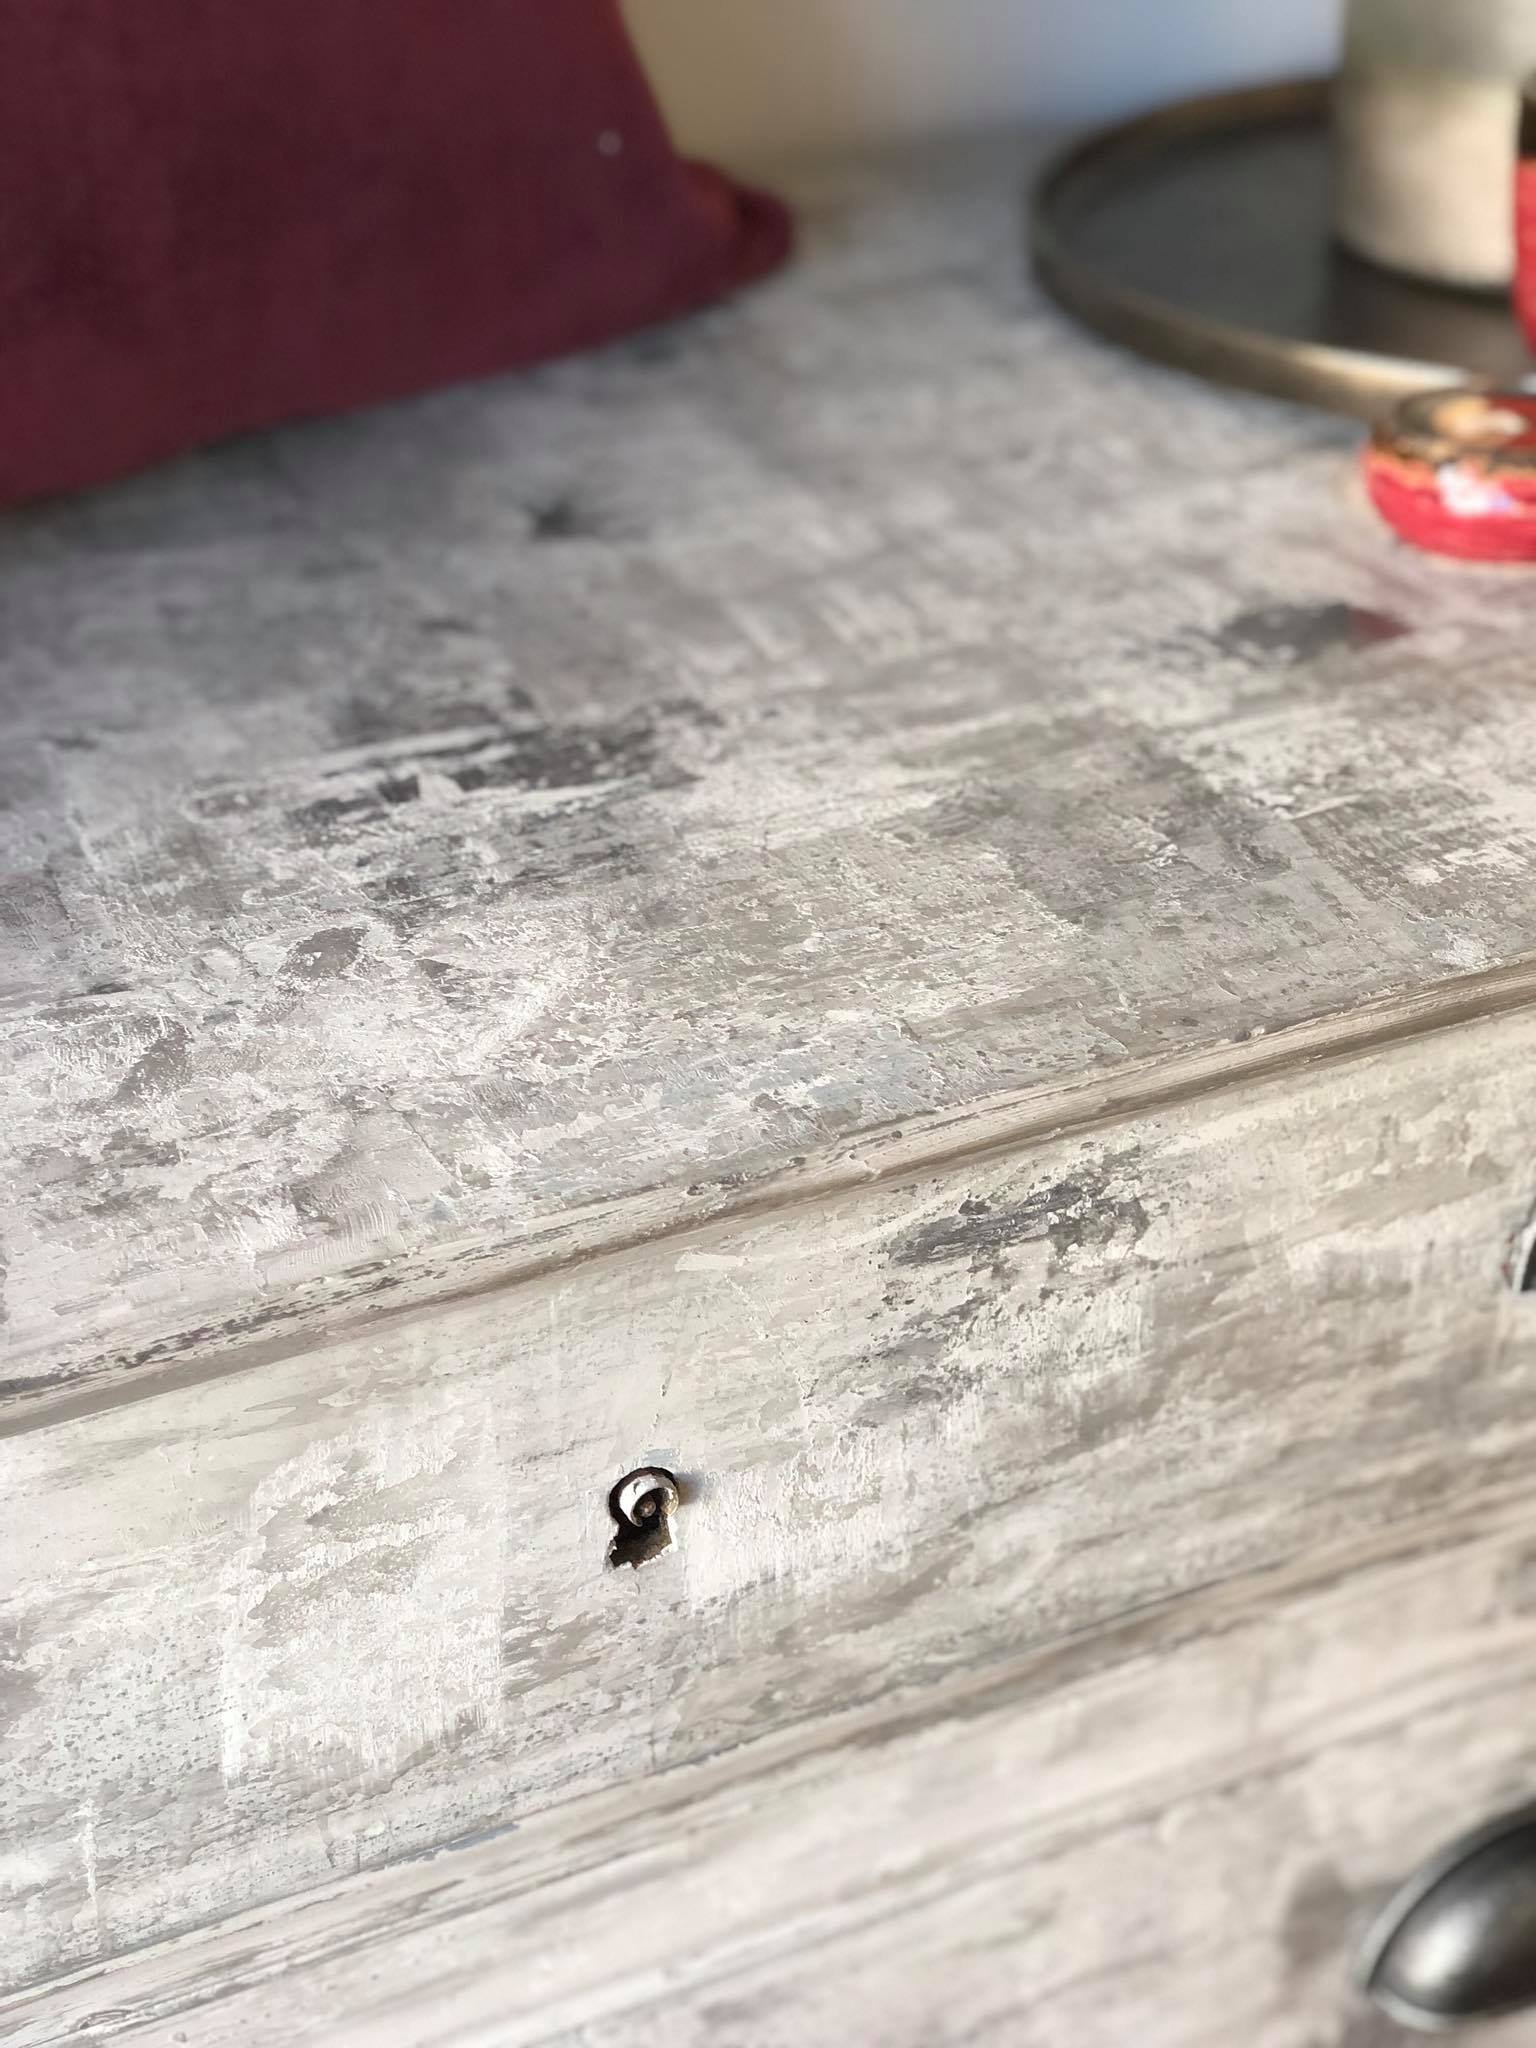
To achieve this look I applied the base colour of Little Lamb mixed with Fresco to the surface using a plastic scraper/spatula. I tried a metal one and that worked great too! a Japanese skip trowel would have made this a lot easier. Working in sections was the easiest way and when it was getting a little dry I scraped it off in areas and pasted it back on, essentially manipulating it, this left thick areas and thinner spots. I took a hairdryer and blasted it with some heat polishing it with a clean rag while it dried revealing the high shine spots.
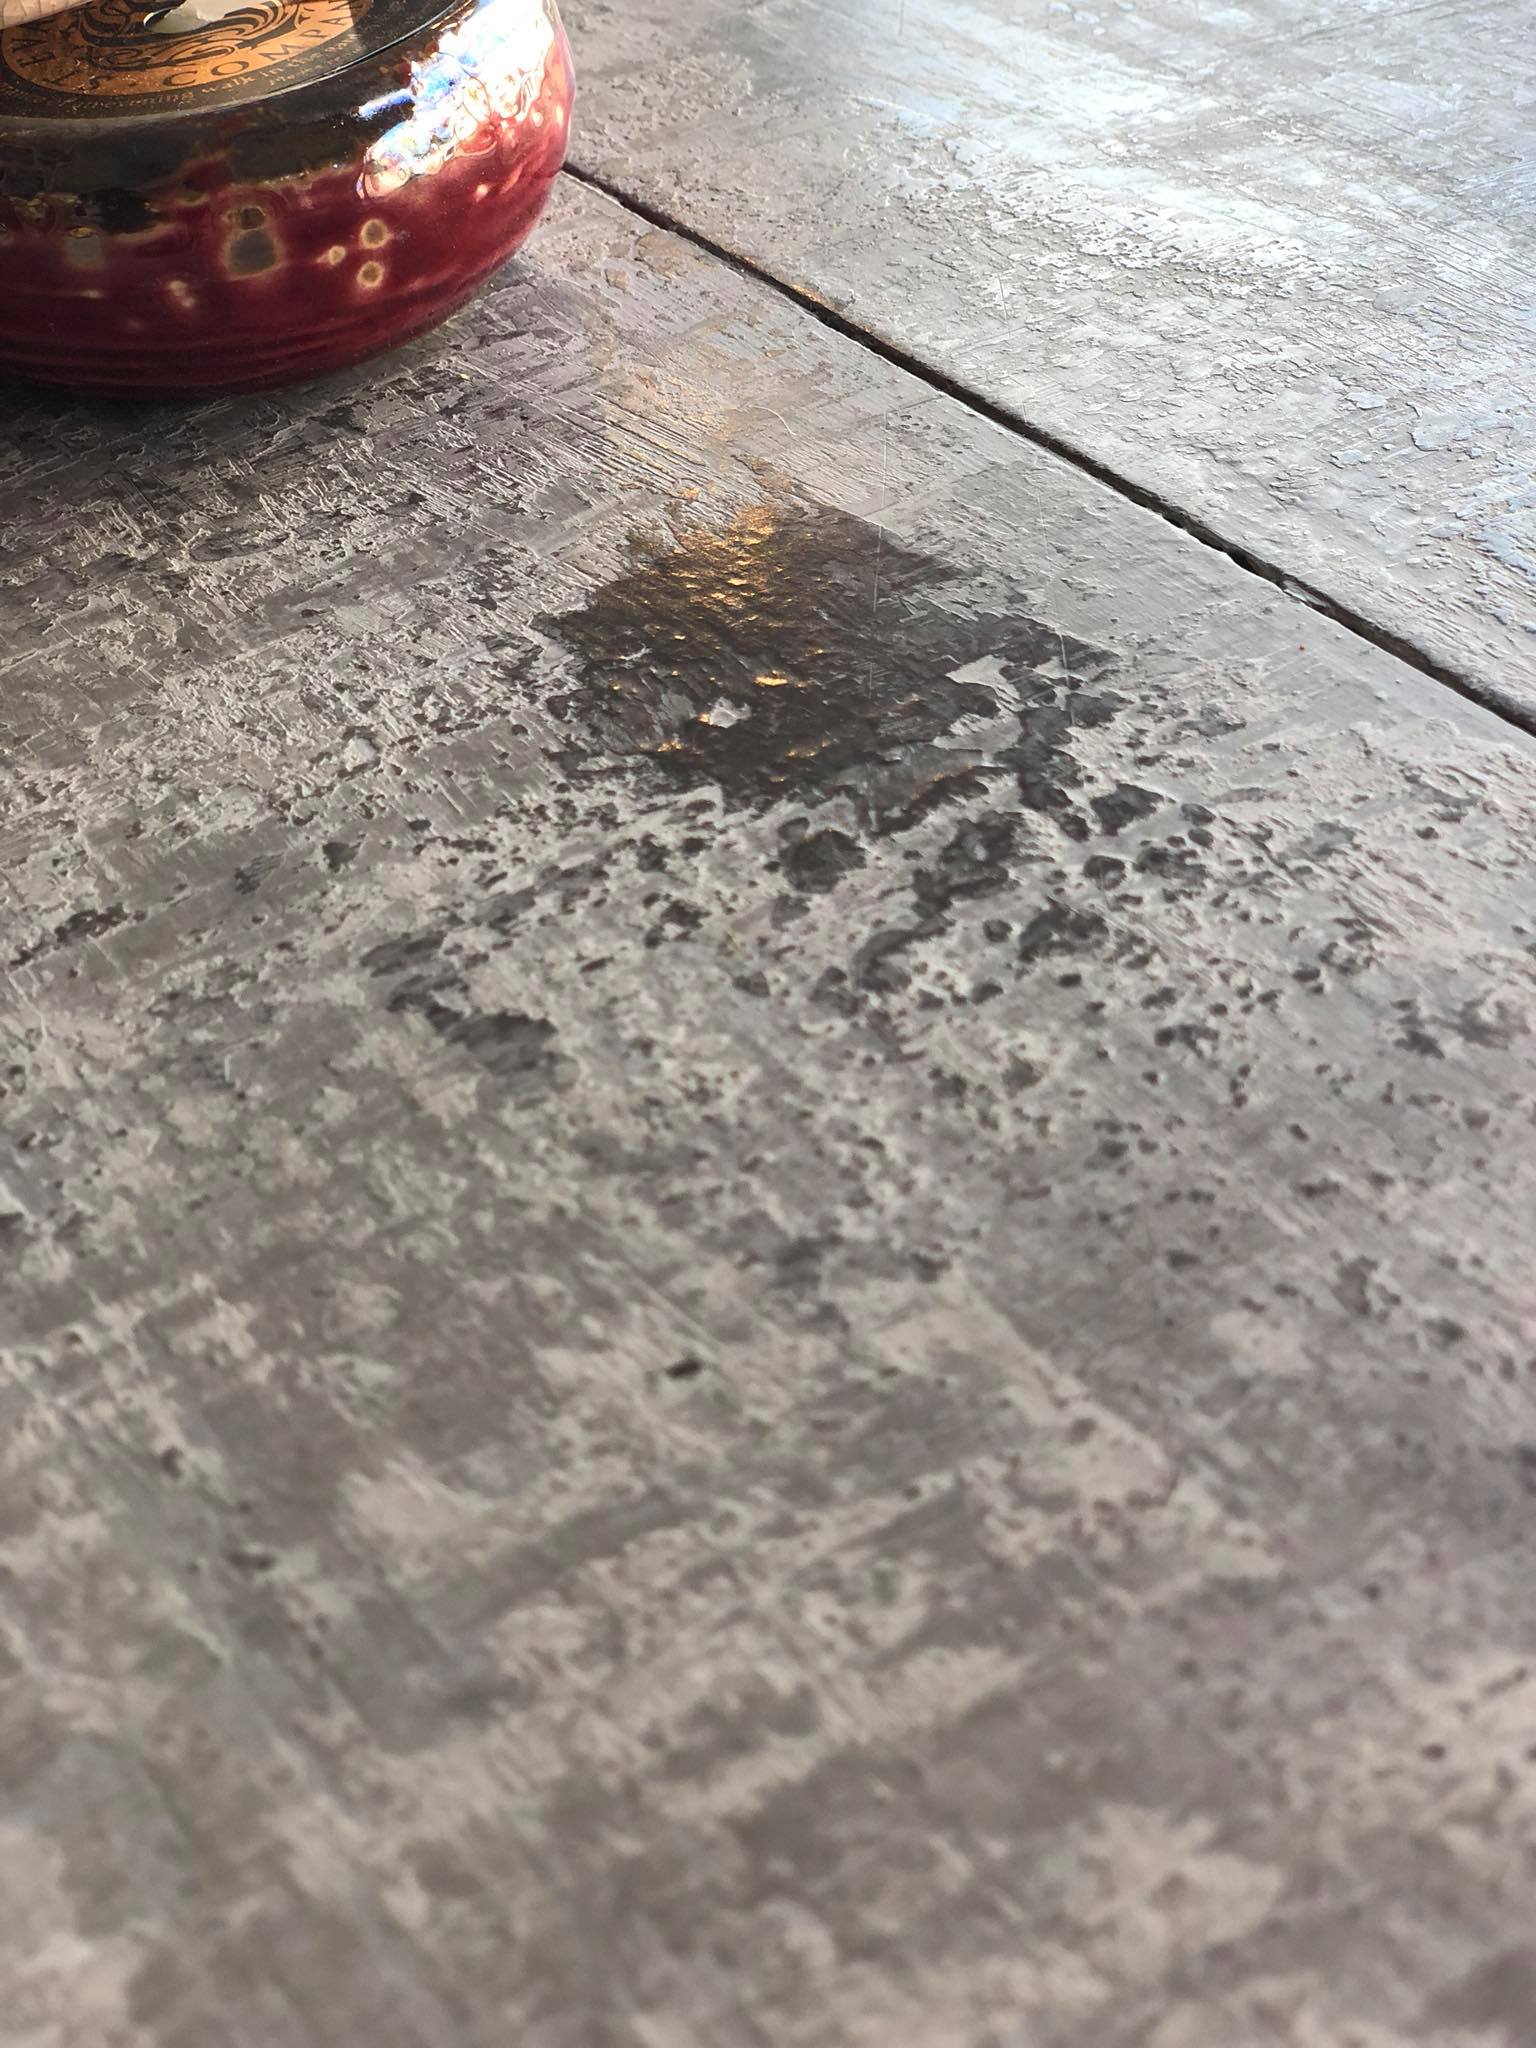
The results were fab! I continued this process with the 2 other mixes. The thicker spots burnished to a glass-like sheen while the lowest points stayed matt. I was thrilled. I even managed to do a video tutorial on my YouTube page to show you how it all came together. You can watch that video tutorial by clicking HERE
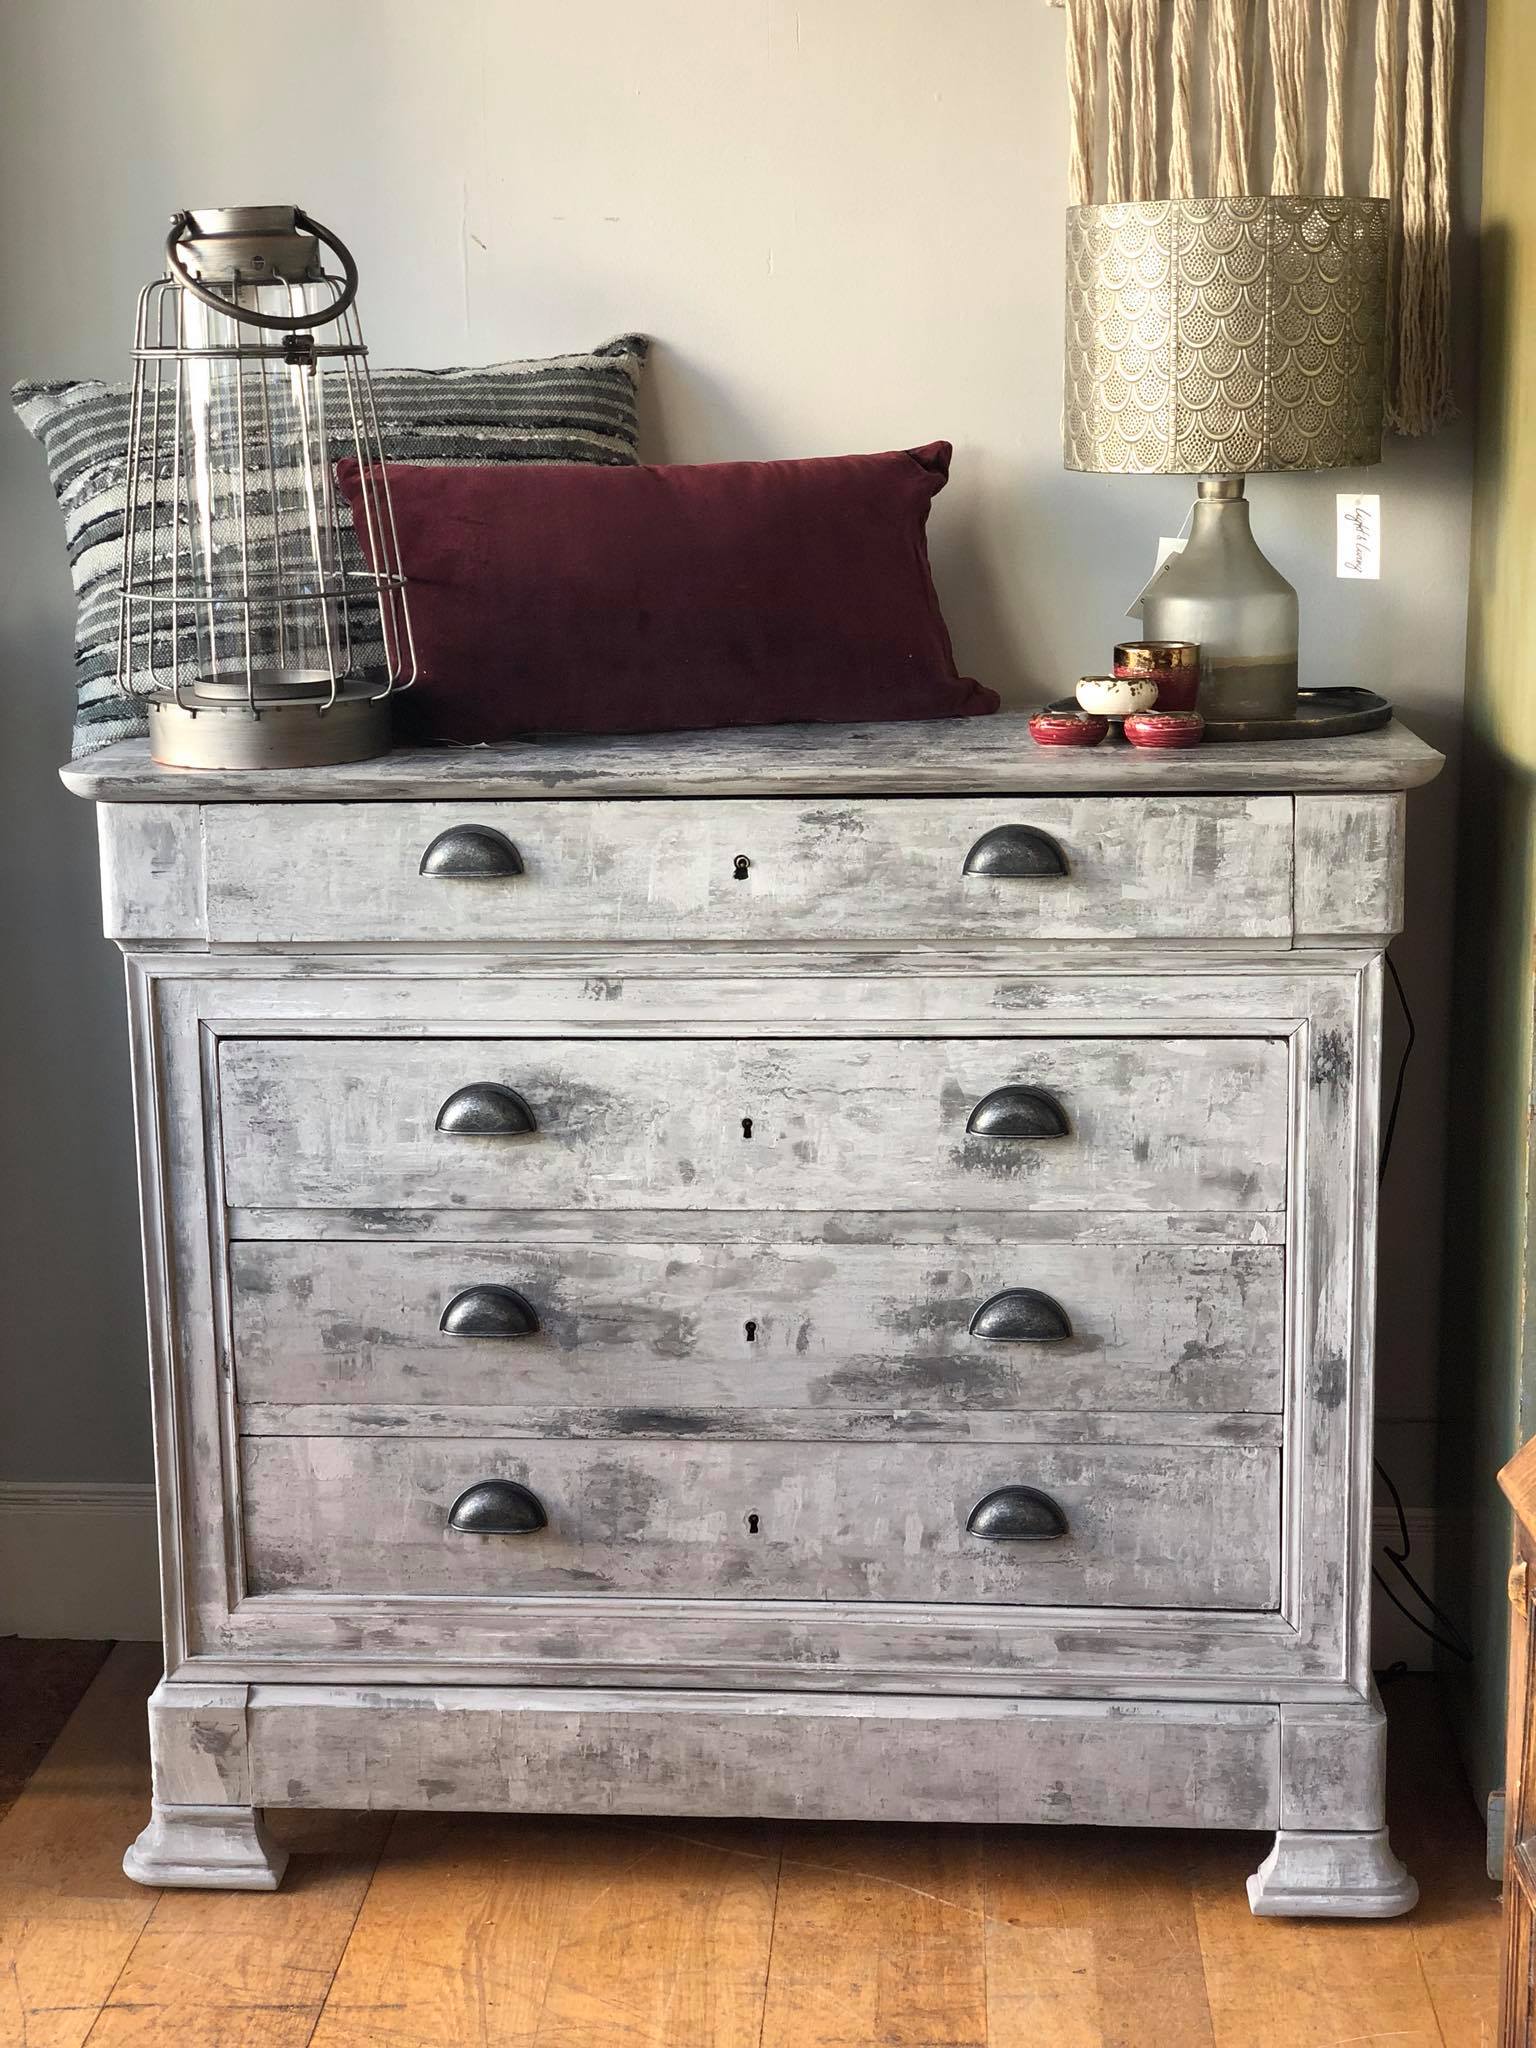
THE FINISHED LOOK
I love love love how it turned out, and really glad Loree caught my Instagram story. Can you imagine this on a feature wall! wouldn’t it look amazing?

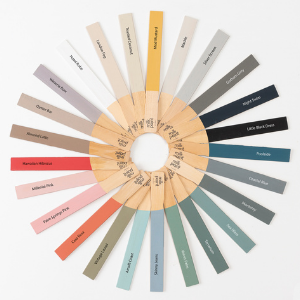
Leave a comment and let me know what you would use it on and what colours you would use. You can, of course, buy the full range of Fusion™ products here on my website by clicking this LINK
Sarah X


OMG, Sarah, you’re a legend! This is awesome! Great description of the process, especially how you got the burnishing. Beautiful outcome.
Such high praise! Thank you Sharon xxmwahxx